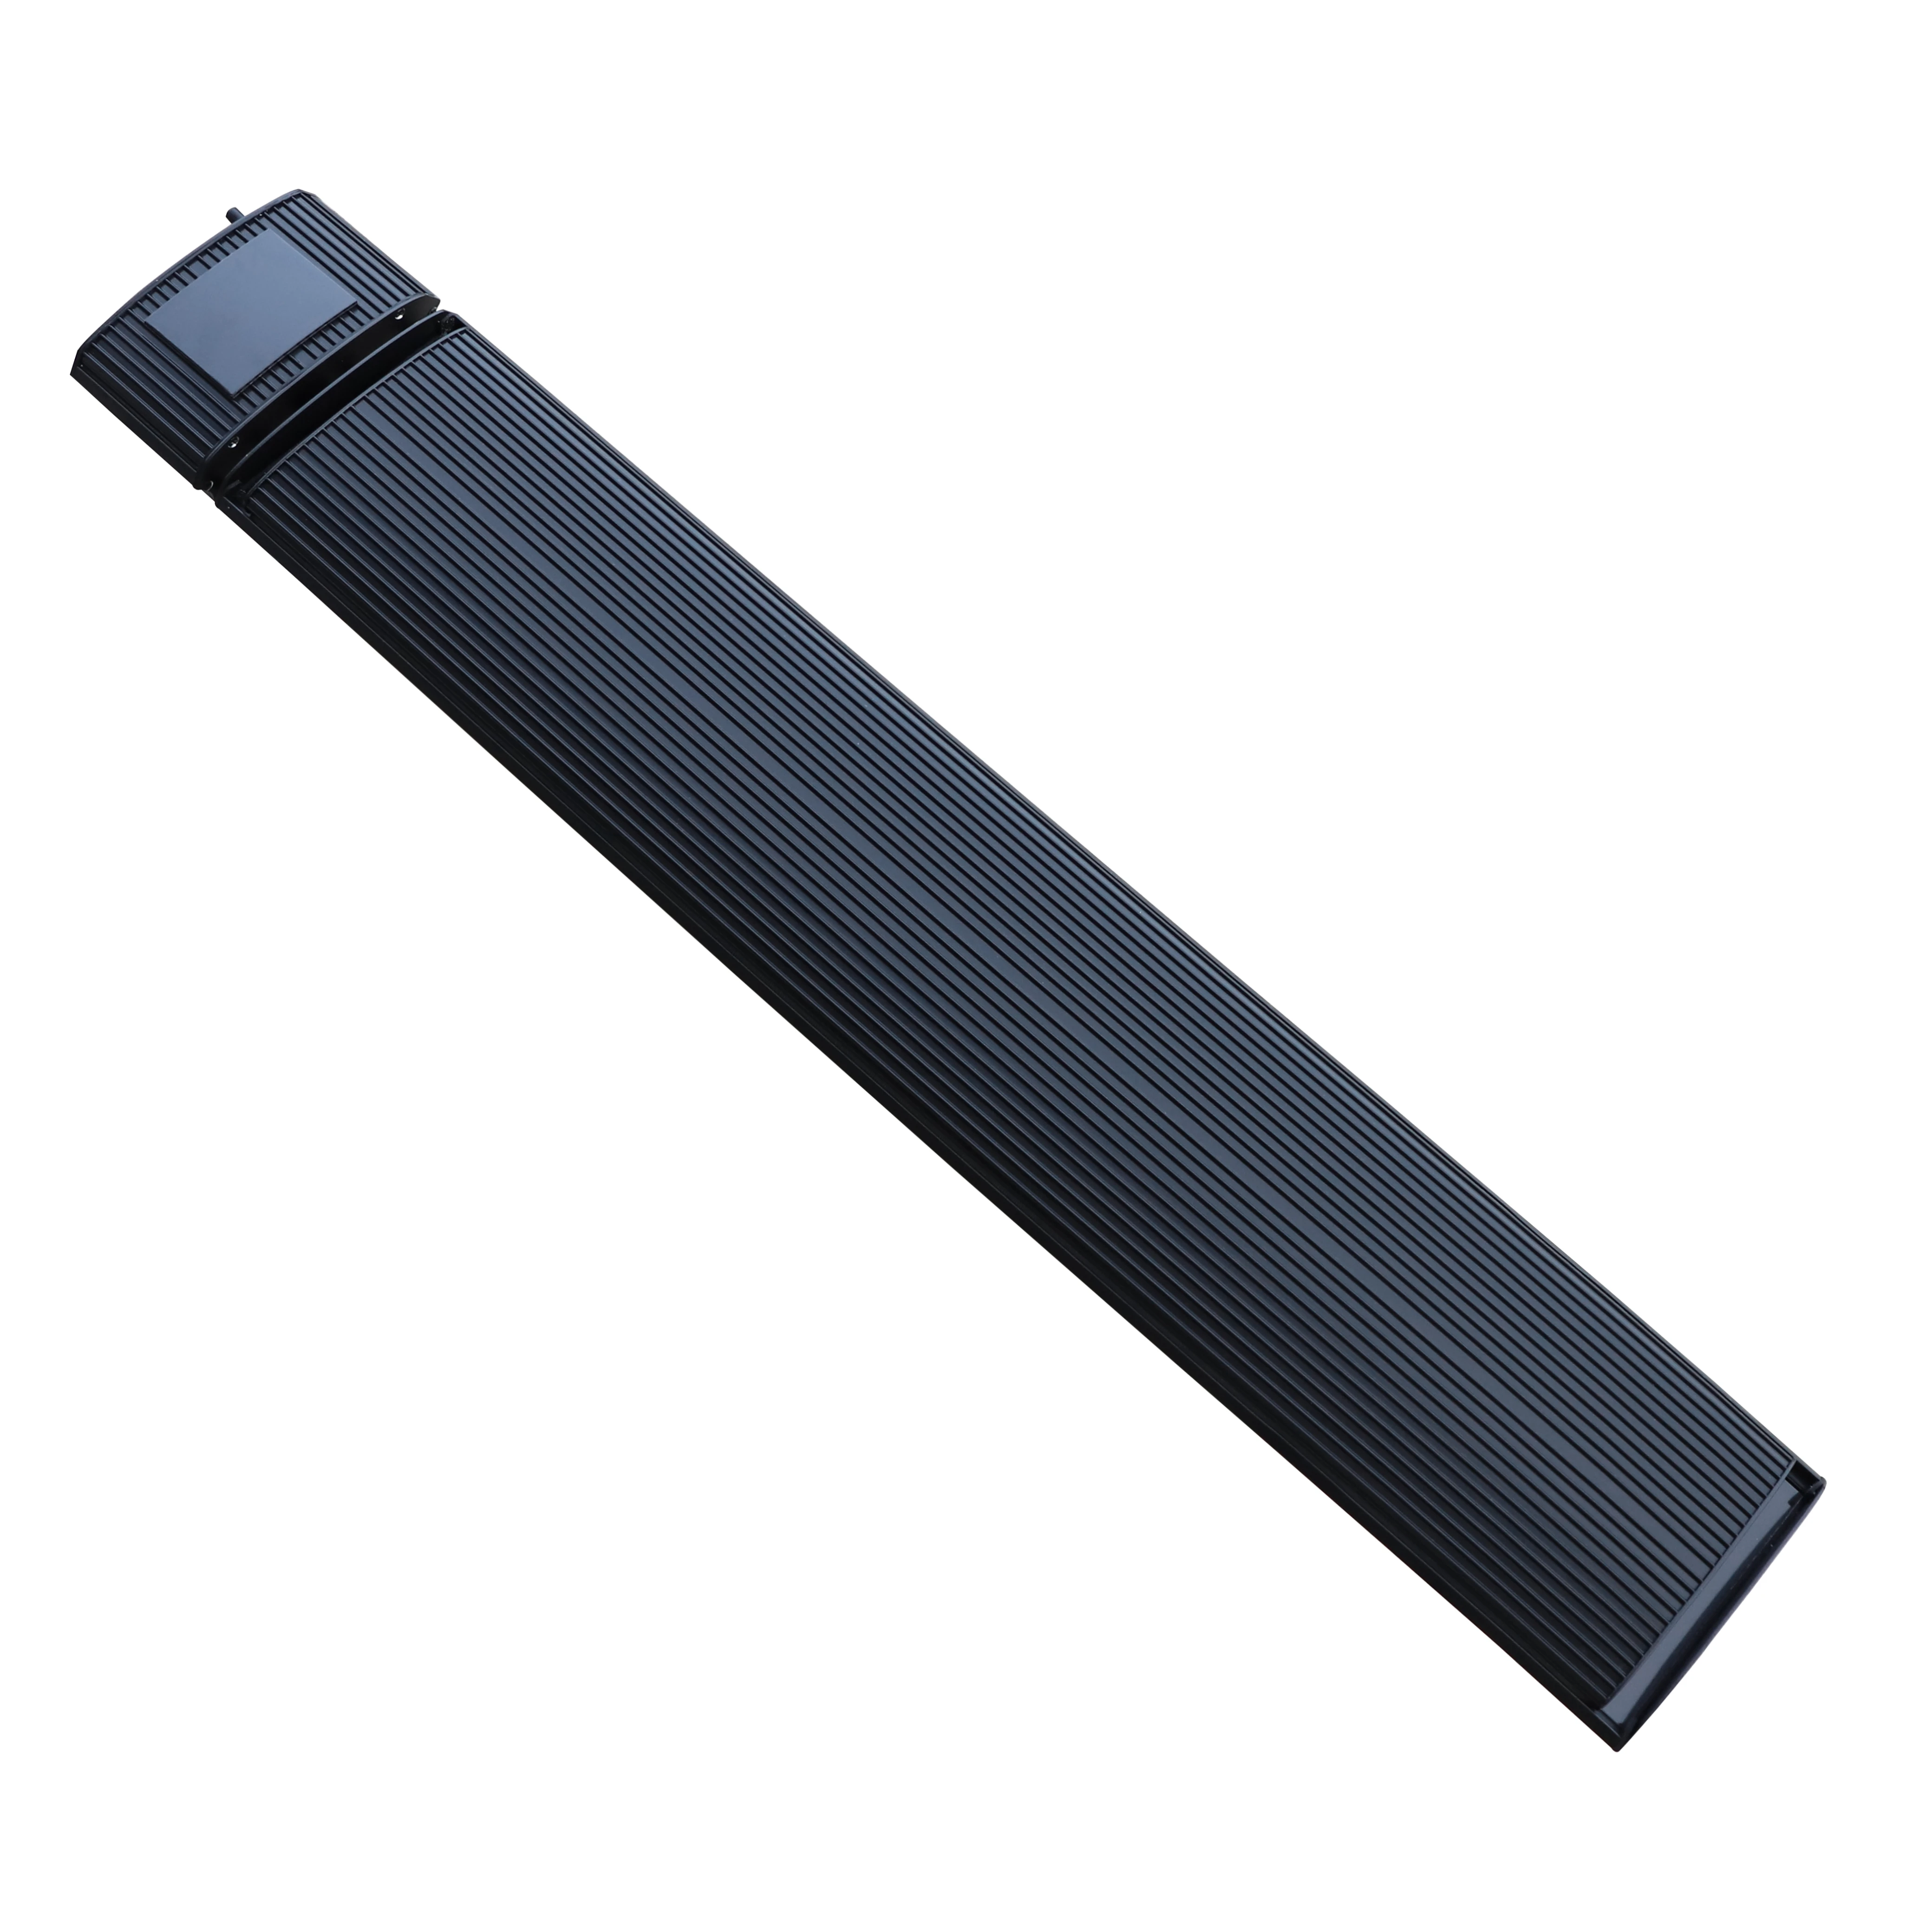
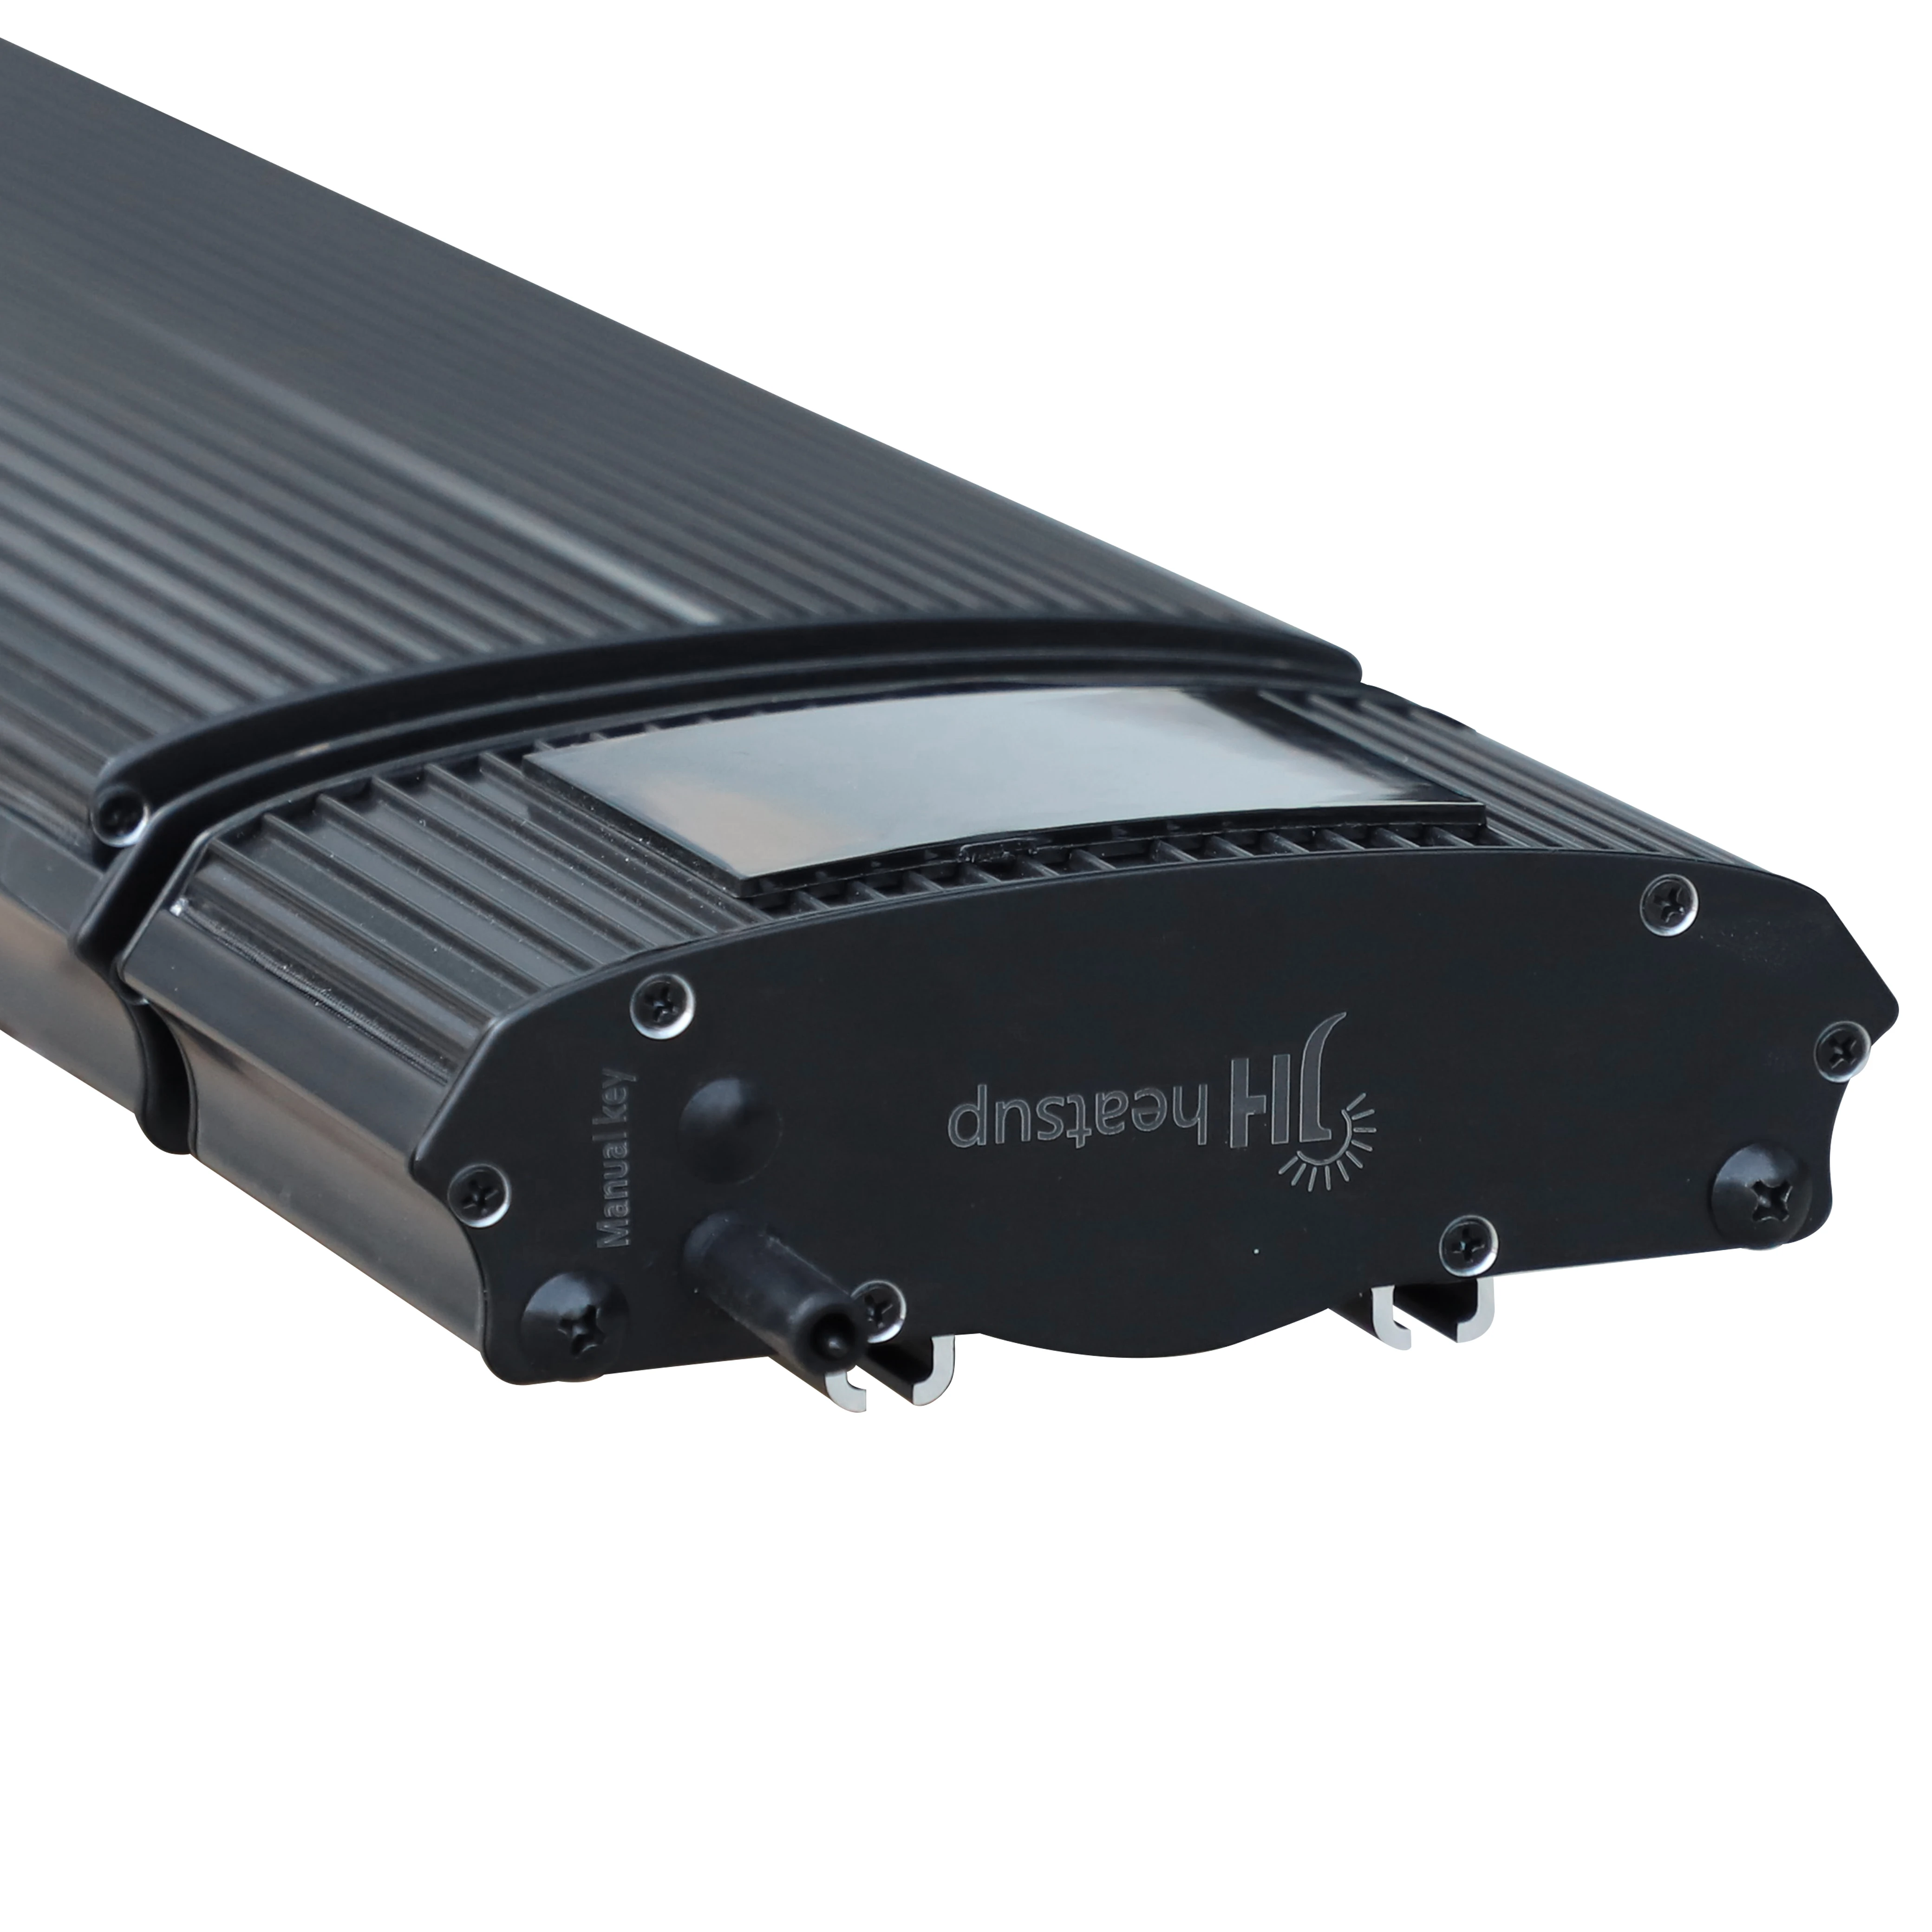
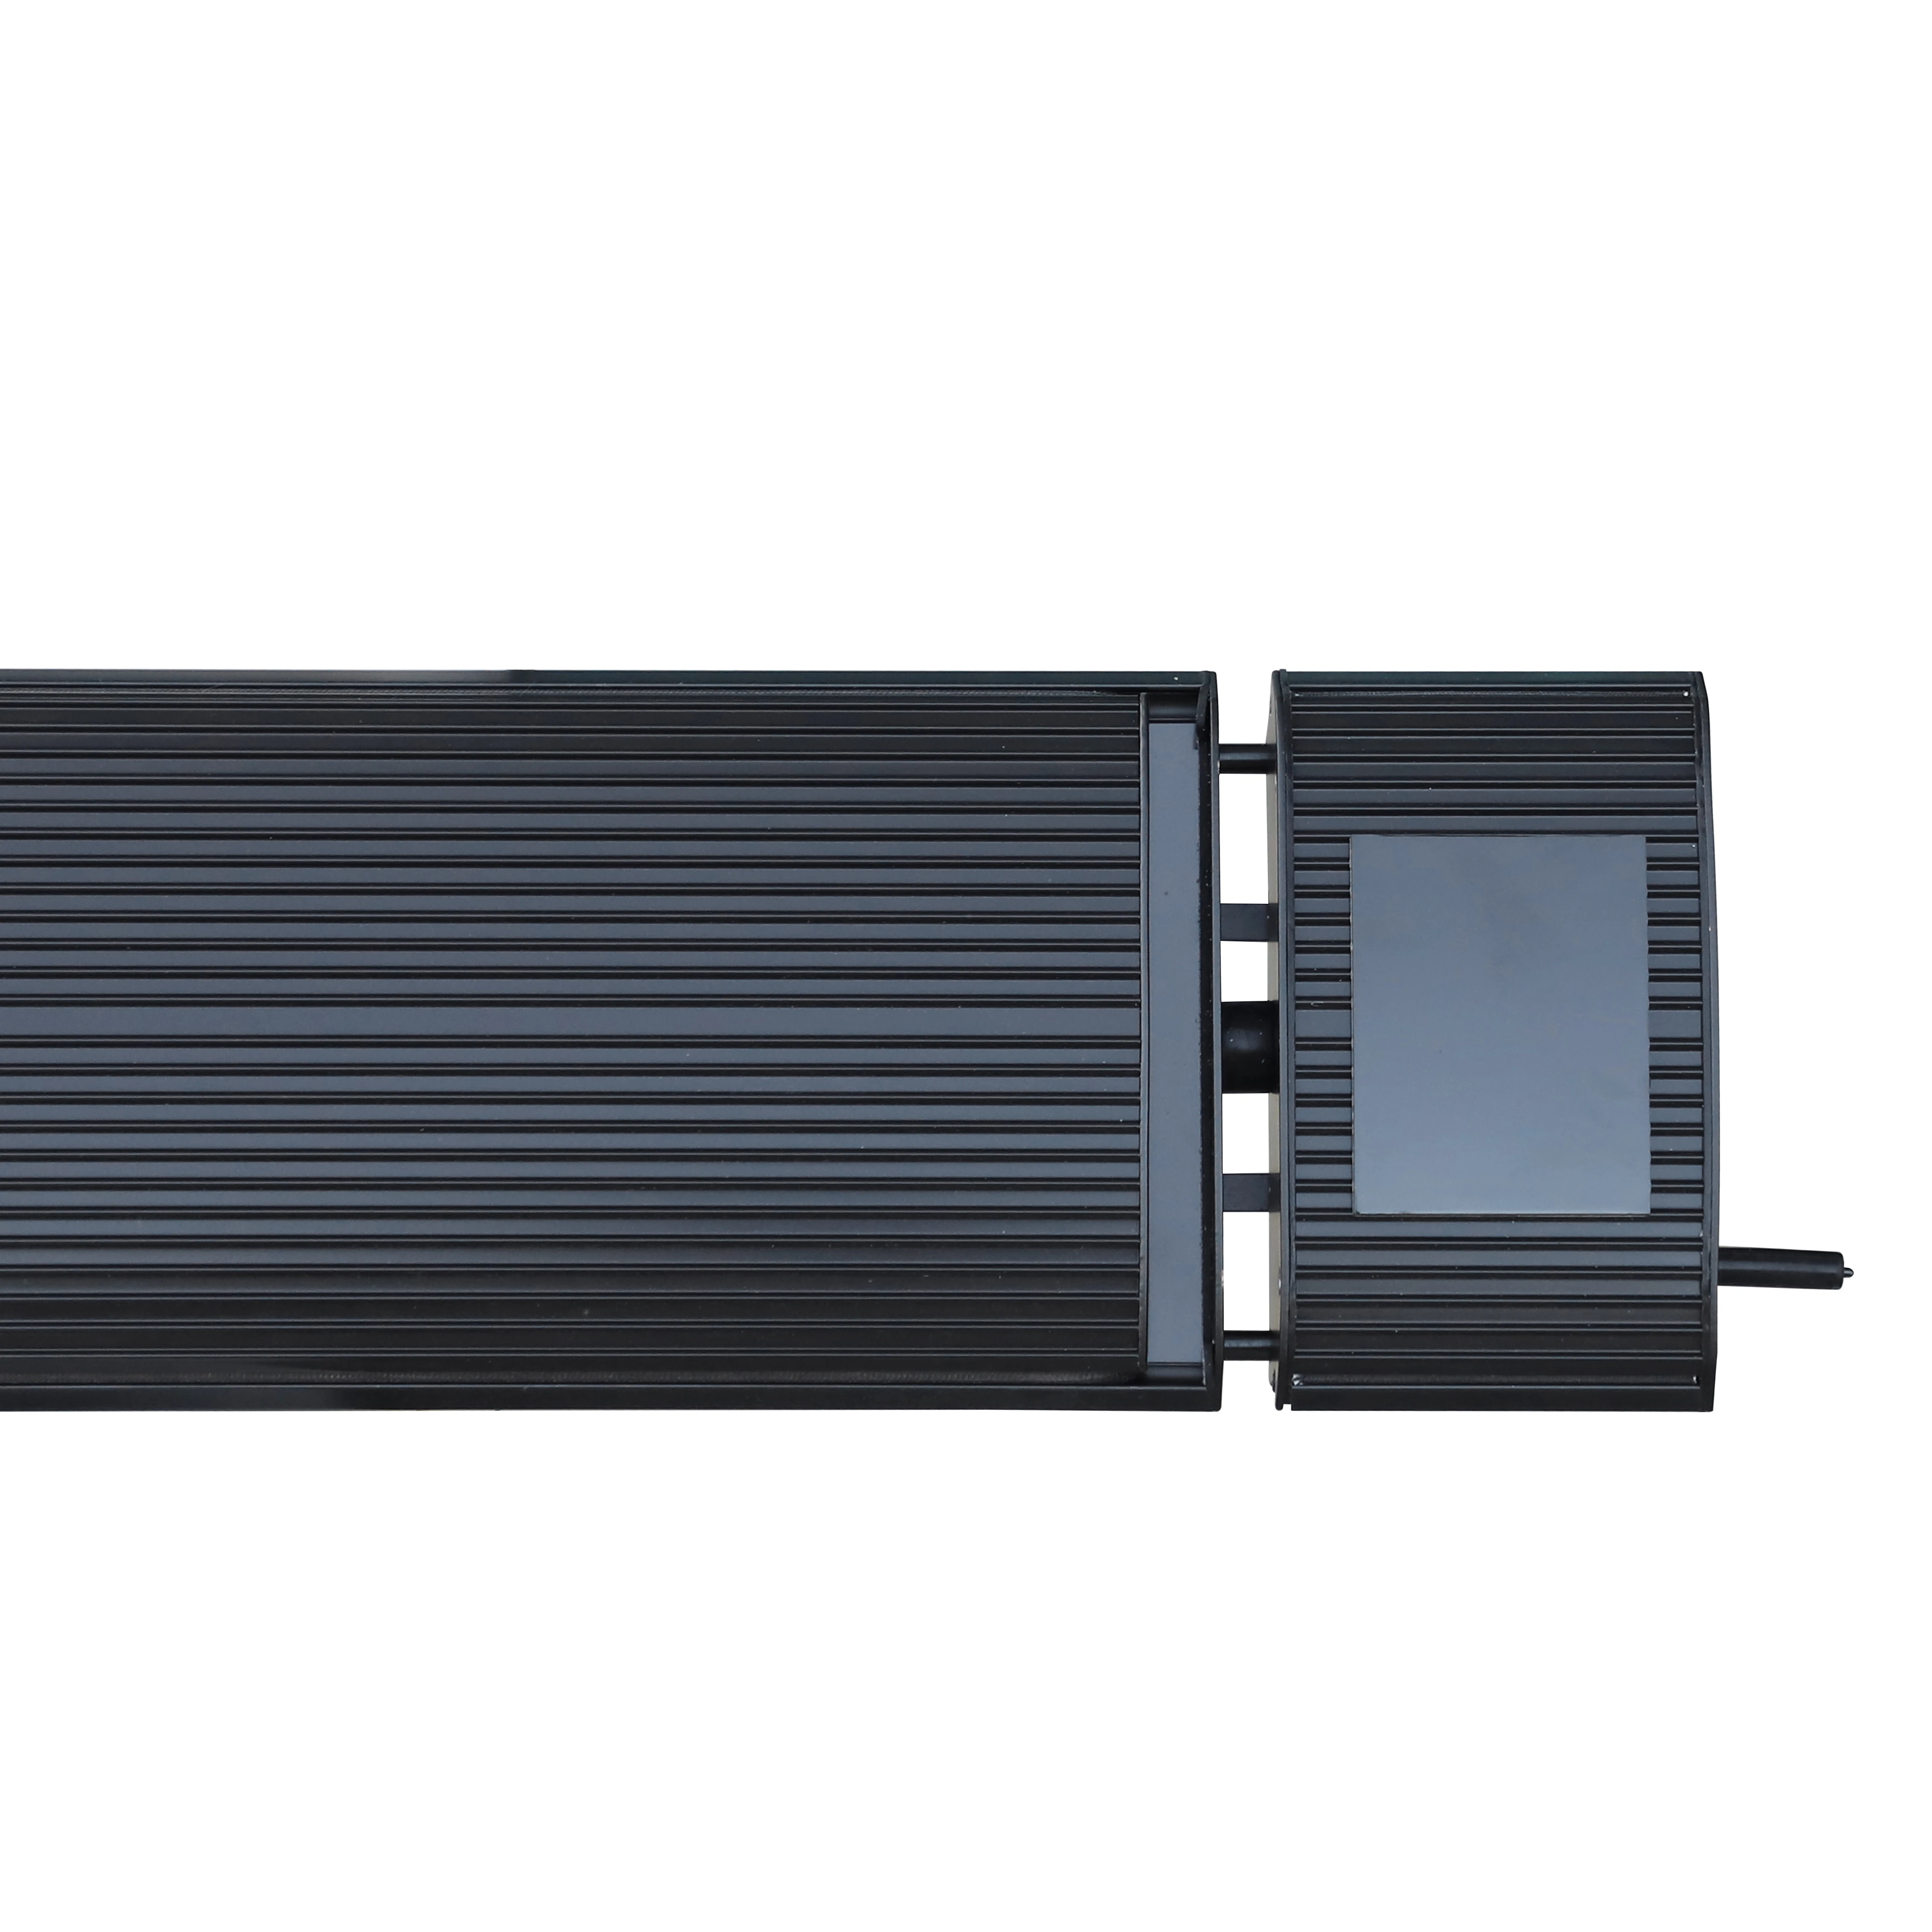
Product Gallery
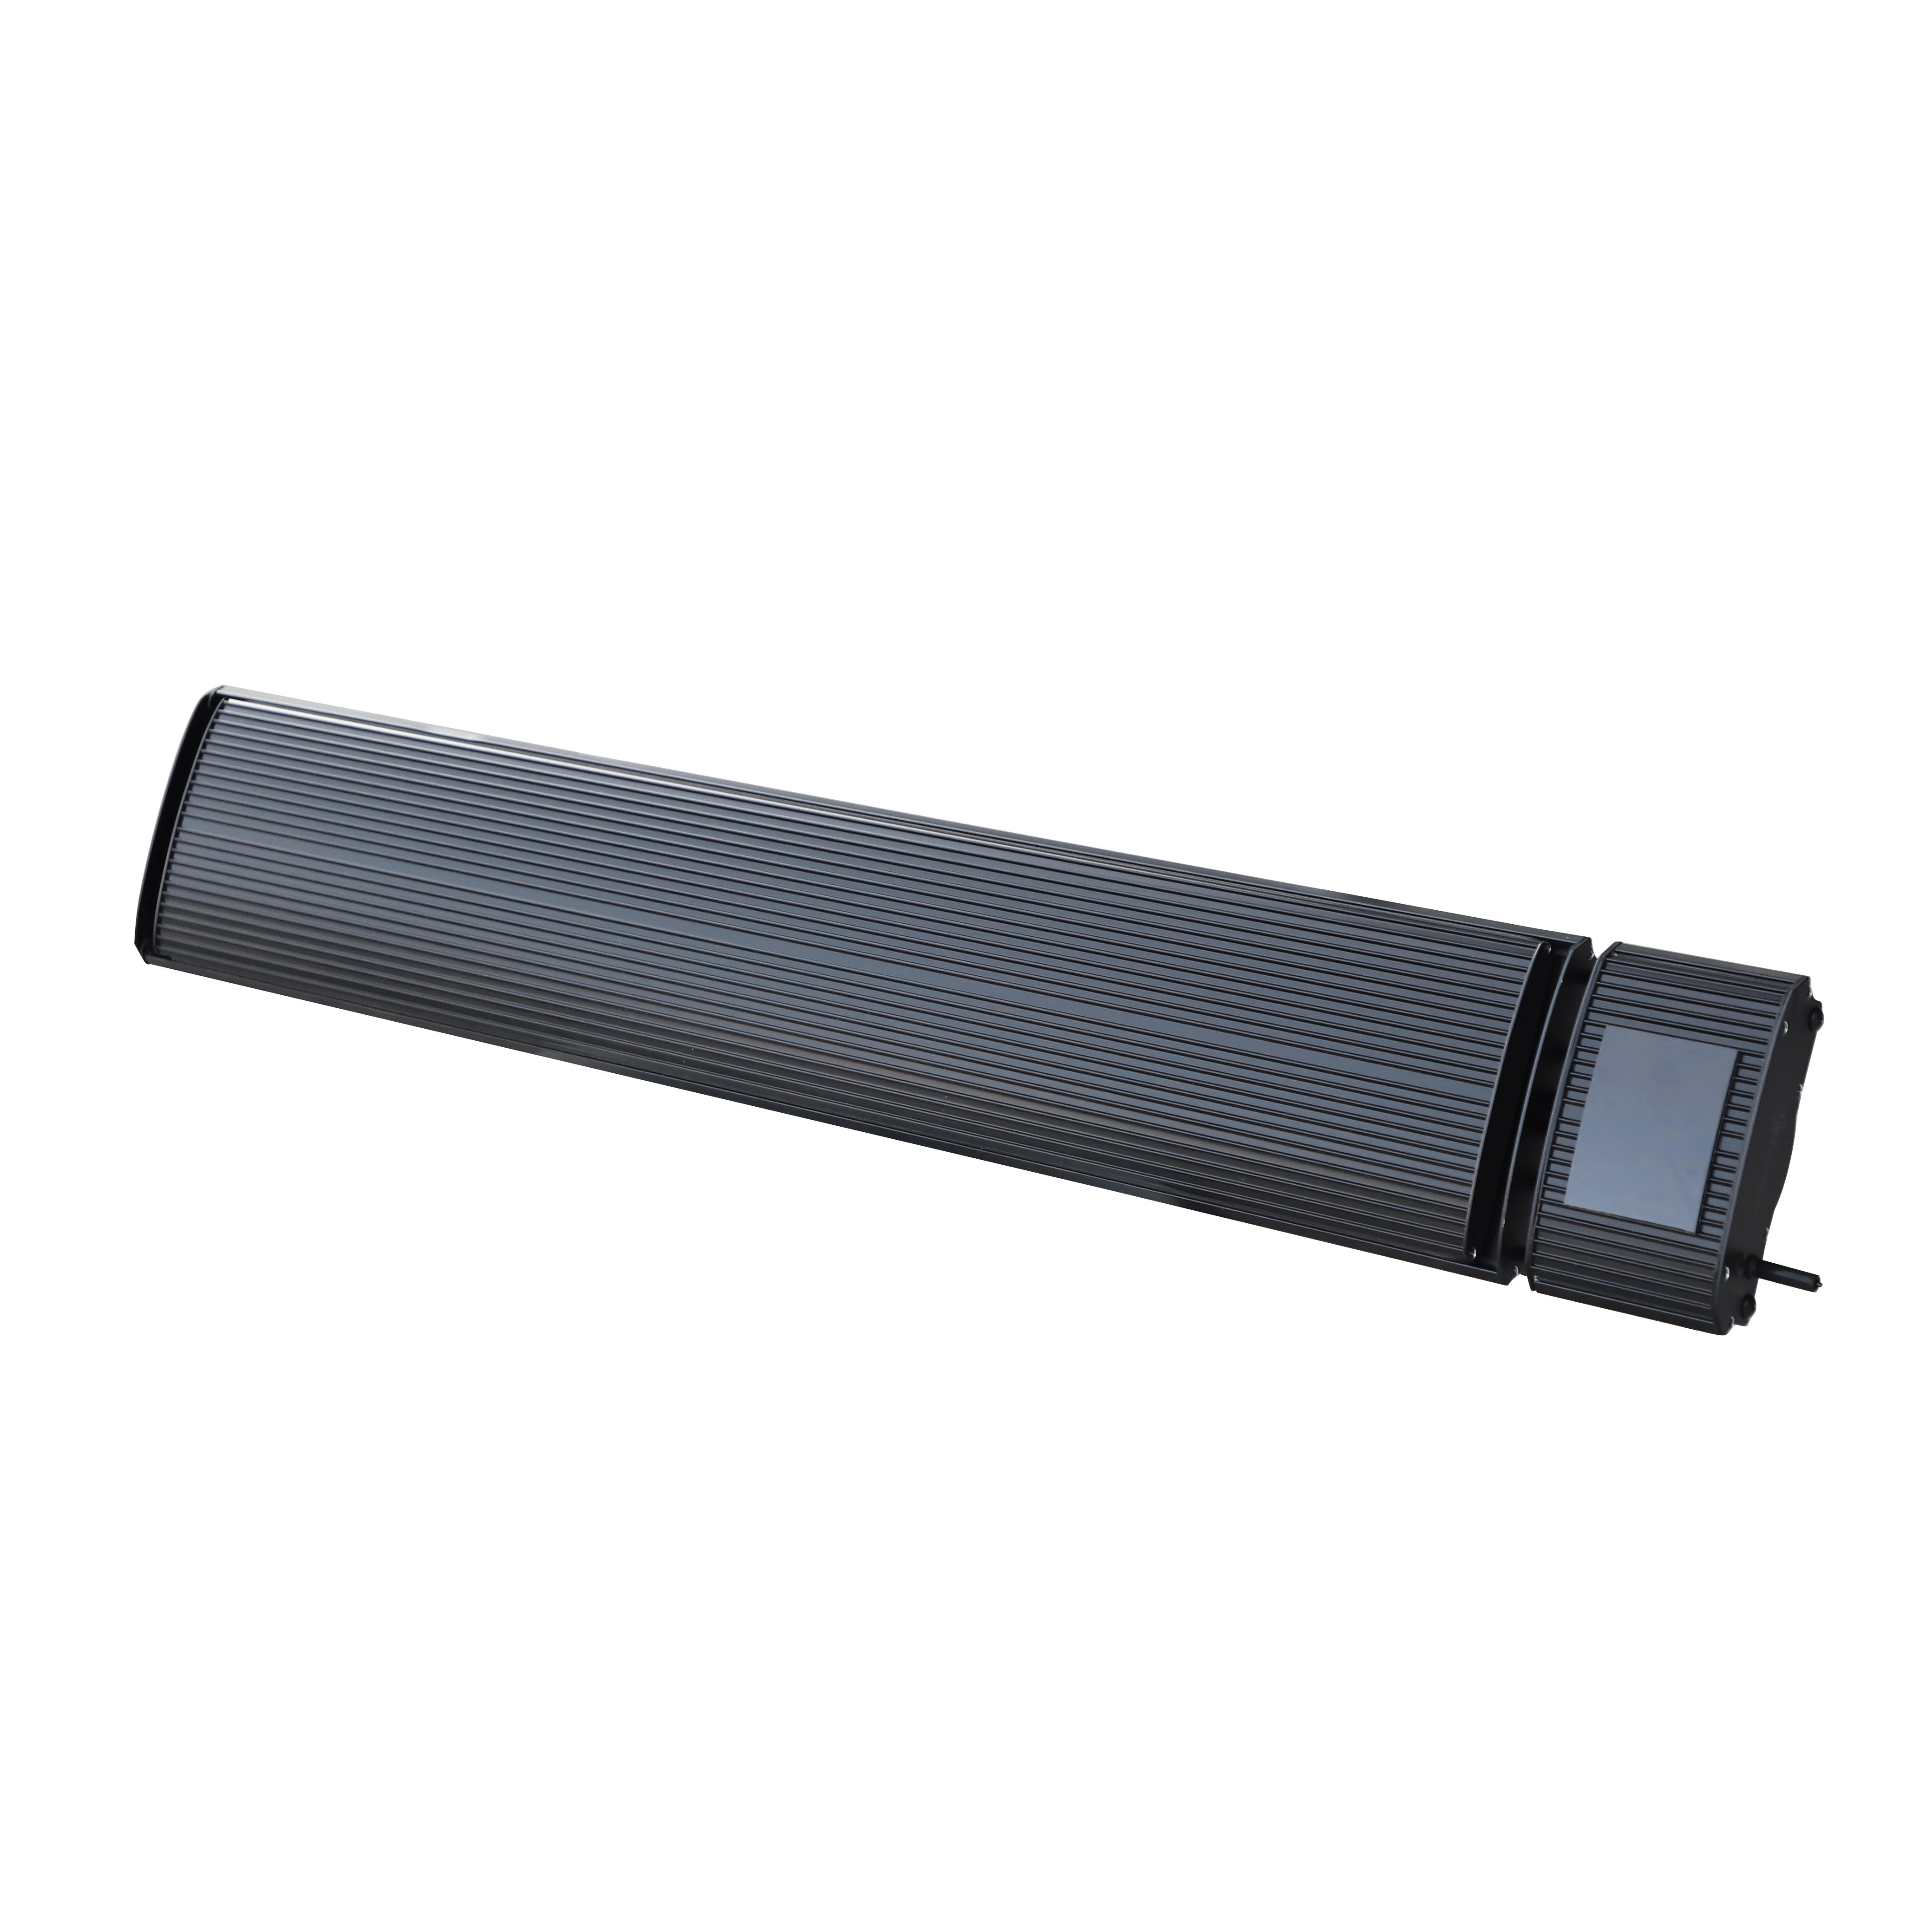
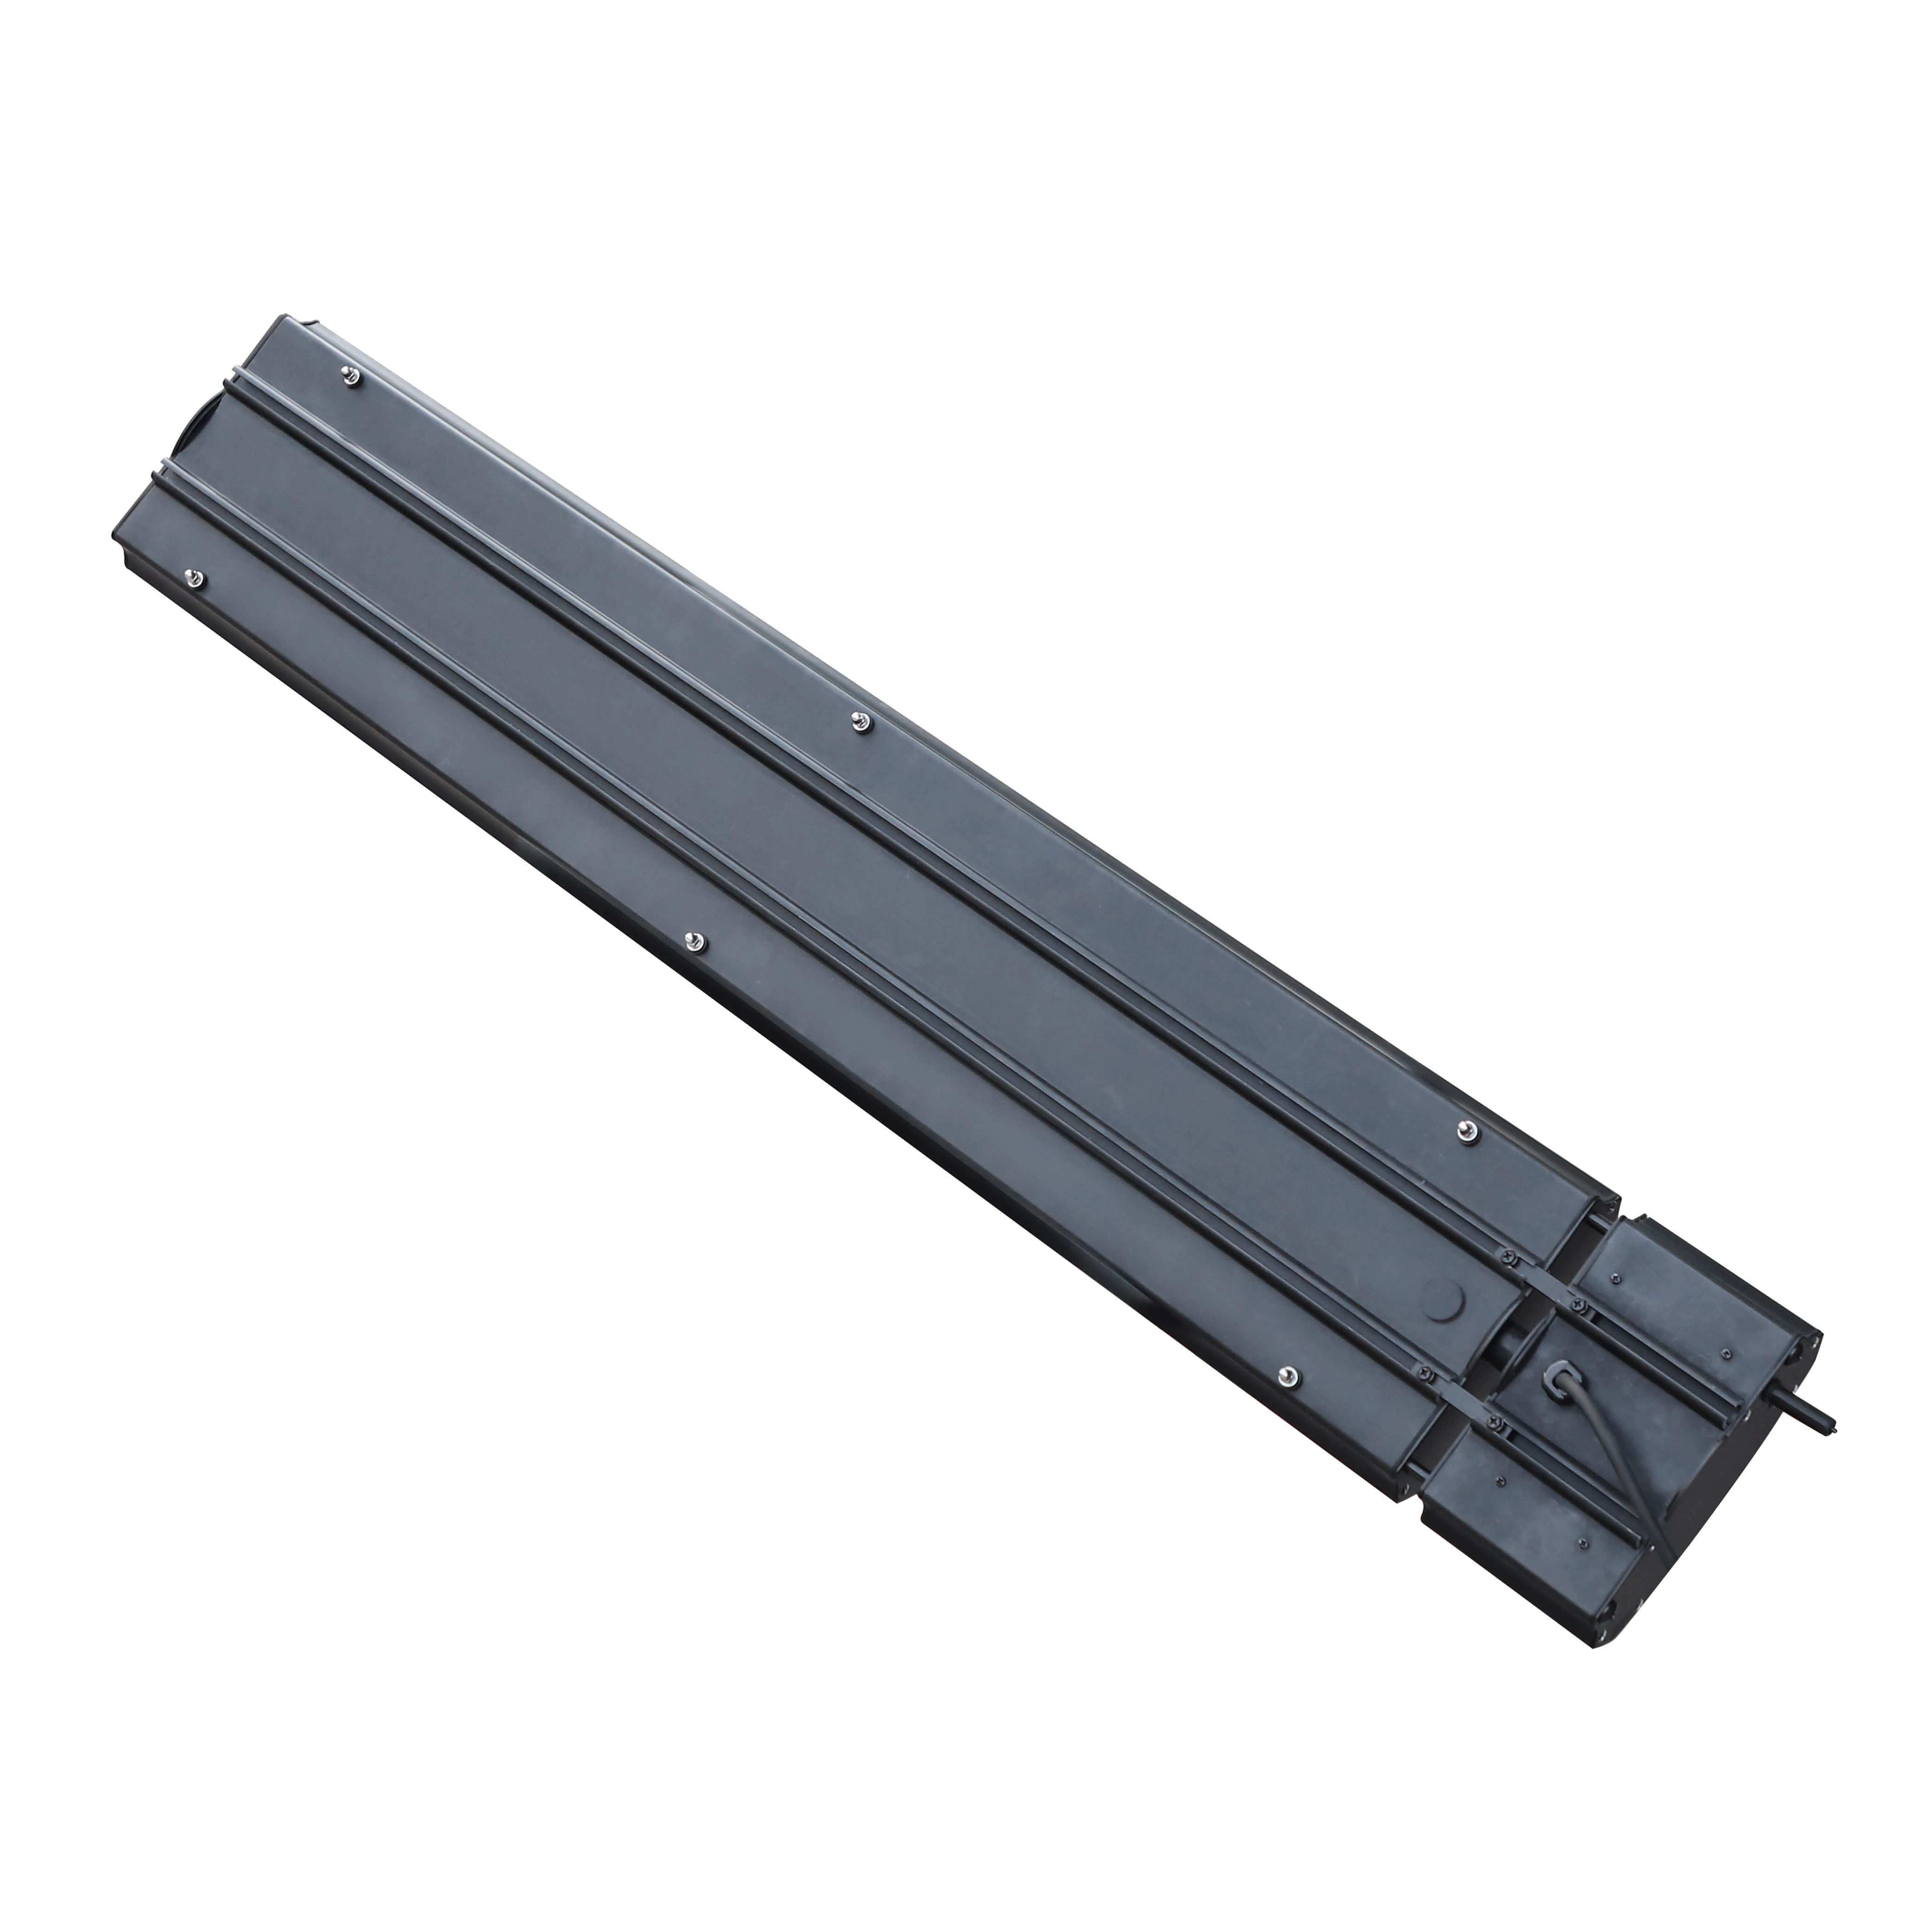
Far-infrared radiant heaters use a specially coated aluminum panel. The heat generated by the heating element is transferred radiantly to people and objects with maximum efficiency — absorbed by walls, floors, and furniture, just like sunshine. Unlike convection heaters, infrared heating does not circulate air, so dust and particles remain settled, keeping the air clean, fresh, and comfortable.
| Model No. | Power (W) | Current (A) | Voltage (V) | Cable (mm) |
|---|---|---|---|---|
| JH-NR10-13W | 1000 | 4.3 | 220–240 | 2000 |
| JH-NR18-13W | 1800 | 7.8 | 220–240 | 2000 |
| JH-NR24-13W | 2400 | 10.4 | 220–240 | 2000 |
| JH-NR32-13W | 3200 | 13.9 | 220–240 | 500 |
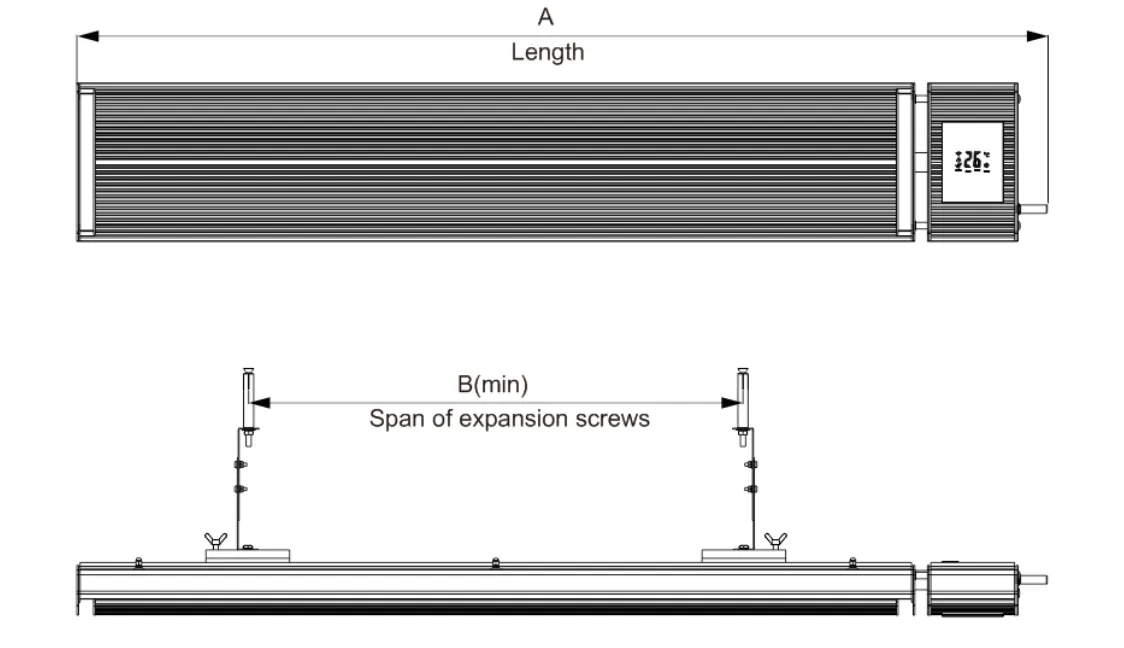
| Model No. | Dimension A | Dimension B |
|---|---|---|
| JH-NR10-13W | 755 mm | 200 mm |
| JH-NR18-13W | 1155 mm | 700 mm |
| JH-NR24-13W | 1655 mm | 1200 mm |
| JH-NR32-13W | 2155 mm | 1700 mm |
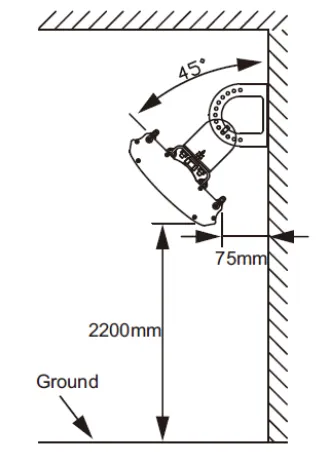
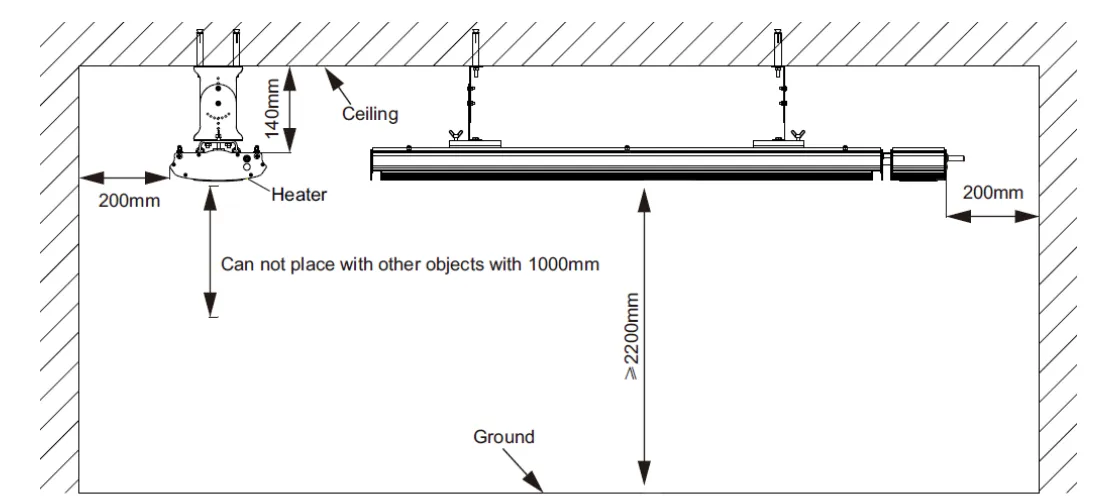
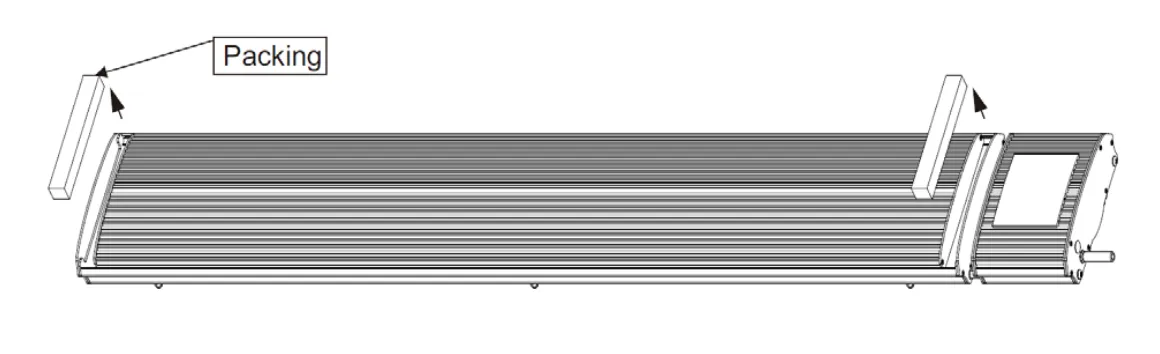
Remove packing from both ends of the heater.
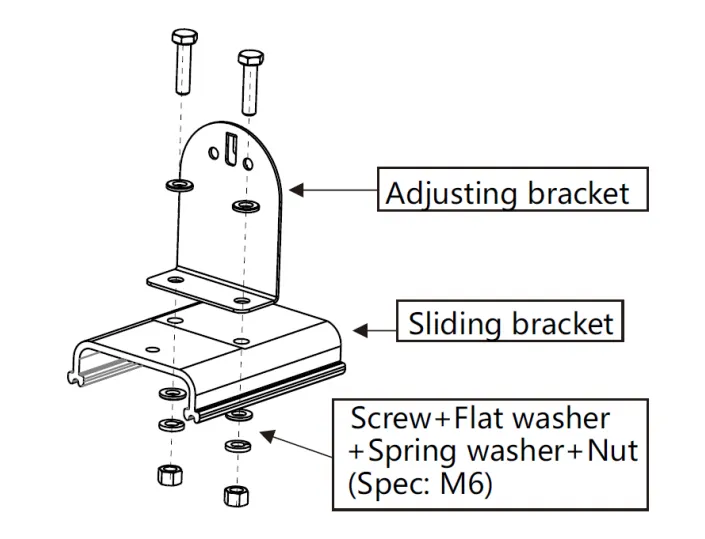
Connect adjusting bracket to sliding bracket.
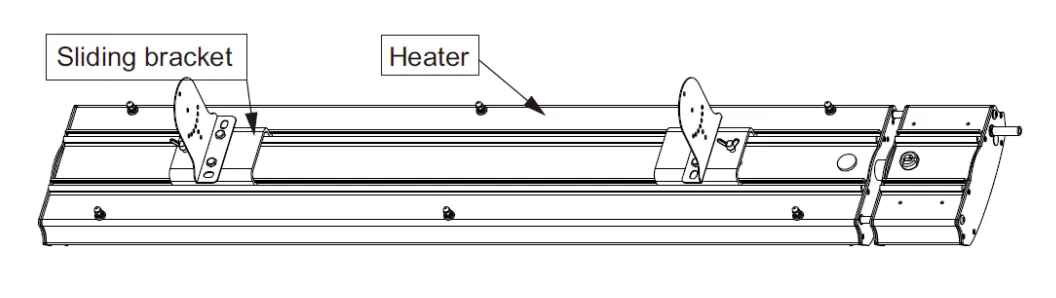
Install the sliding bracket and heater as indicated by the arrows.
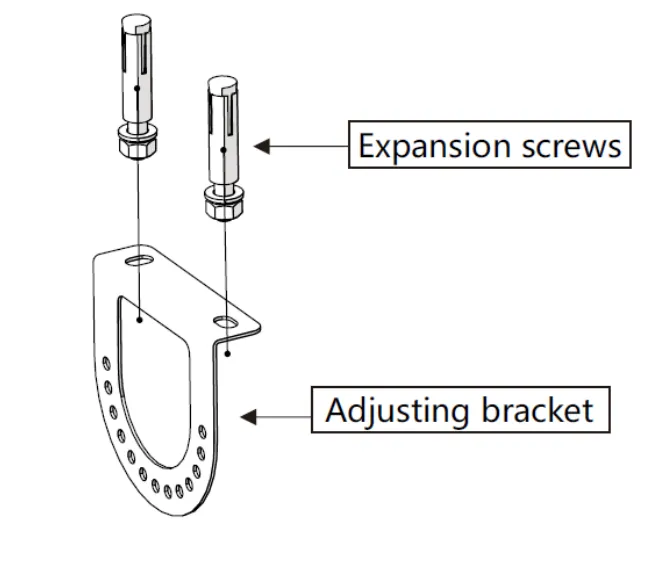
Fix the adjusting bracket to the wall using expansion screws.
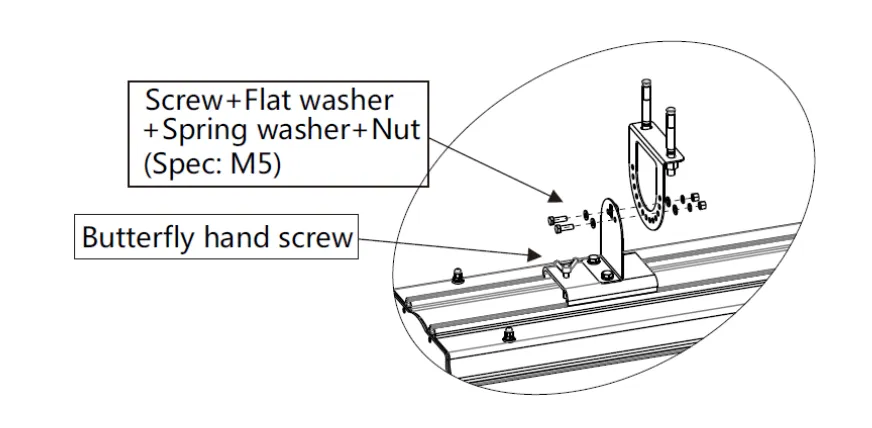
Install both adjusting brackets and tighten the butterfly hand screws firmly.
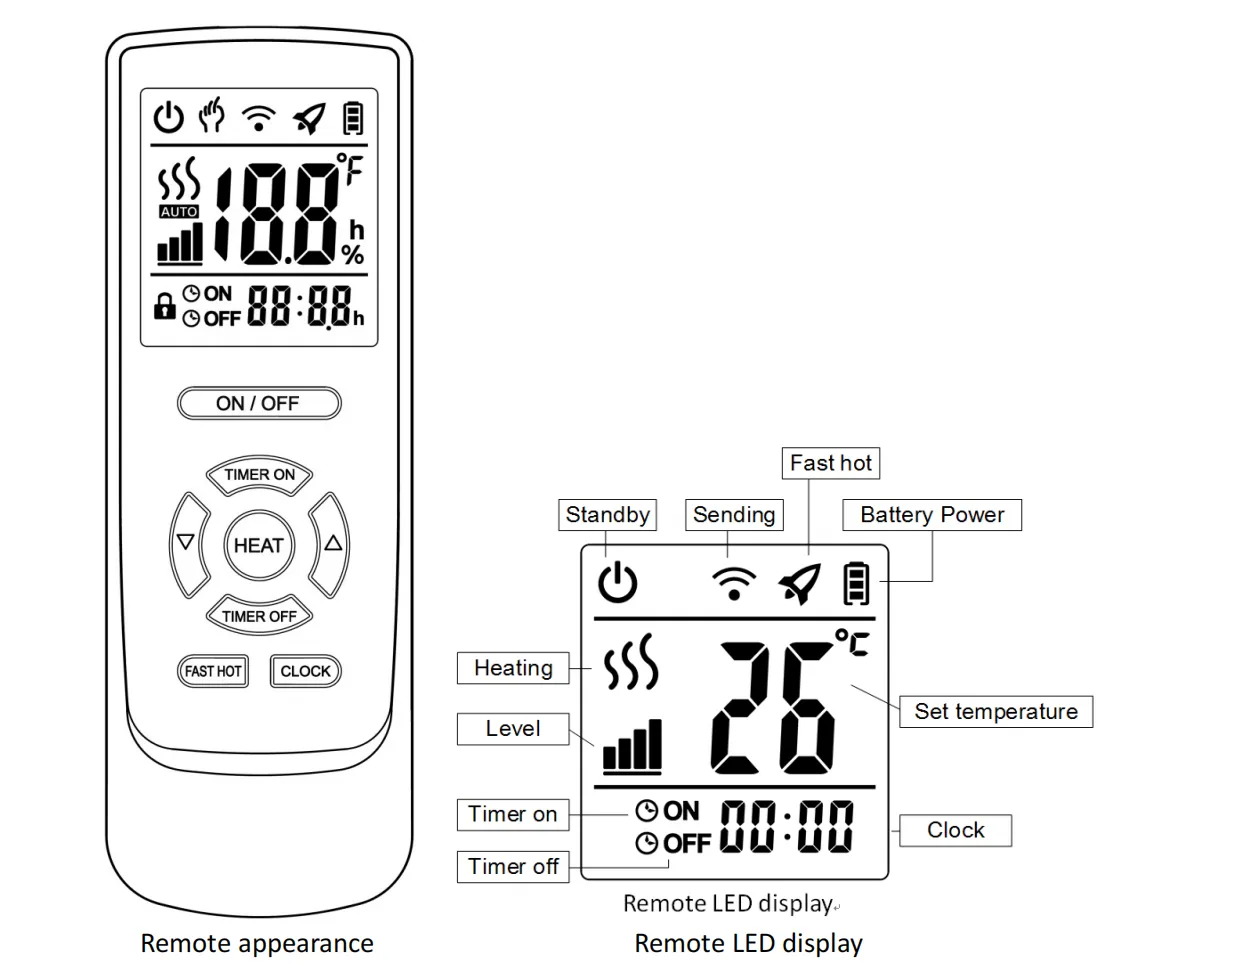
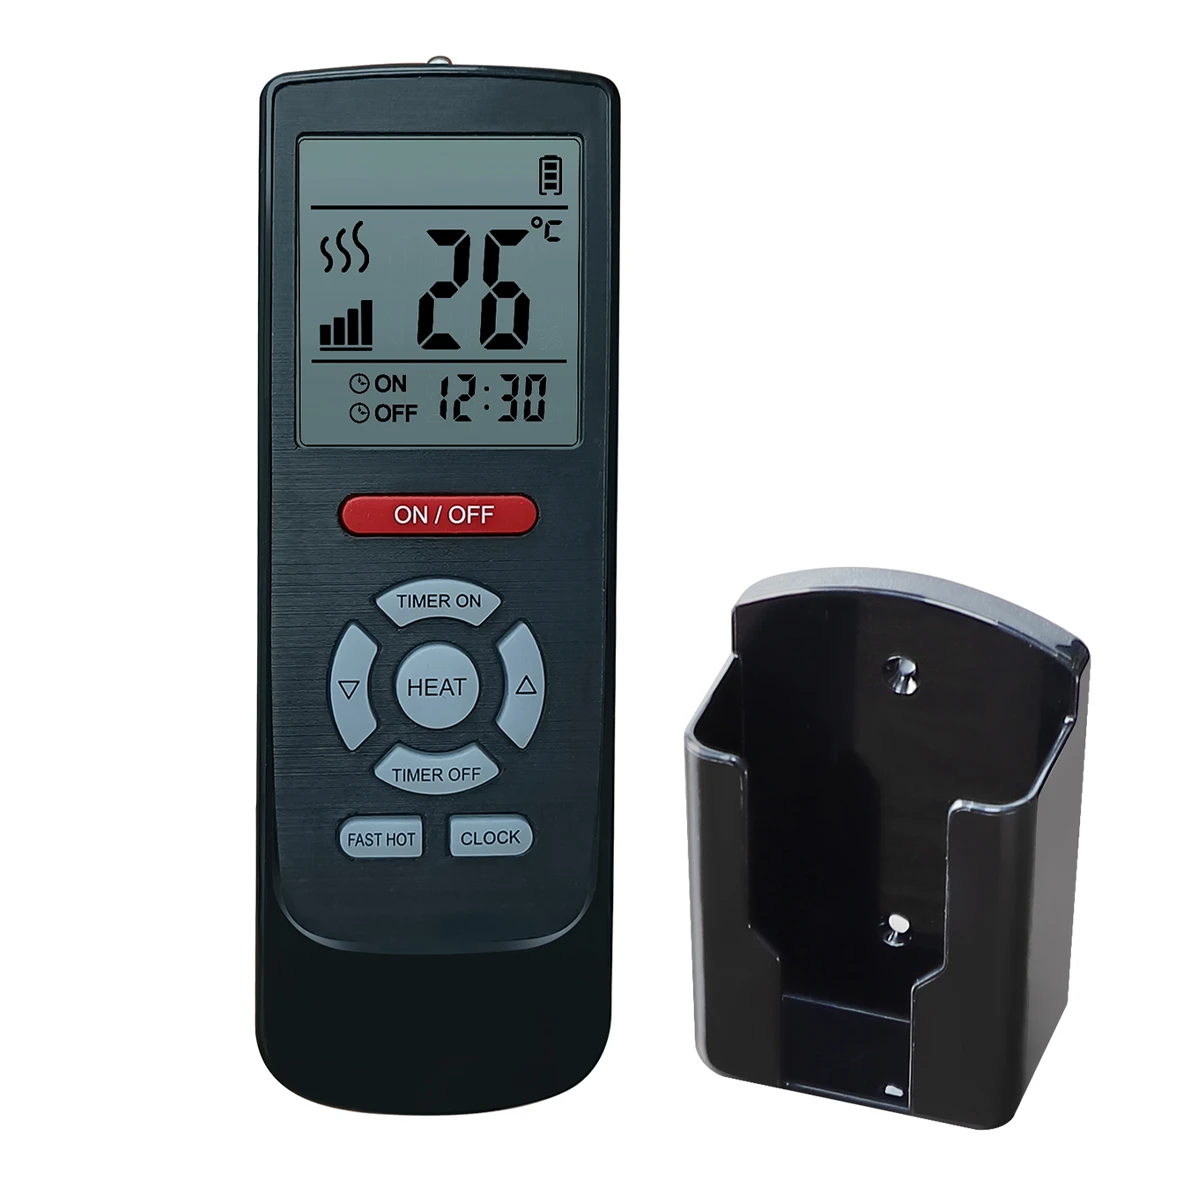
Press the ON/OFF button to turn the heater on or off.
Press Clock → use ▲/▼ to adjust hours → press Clock → adjust minutes → press Clock → adjust seconds → press Clock to confirm.
Press the Level button while the heater is on to adjust the power level.
Press Fast Hot button to run the heater at full power for rapid heating.
Press Timer ON → set hours with ▲/▼ → press Timer ON → set minutes → press Timer ON to confirm.
Press Timer OFF → set hours with ▲/▼ → press Timer OFF → set minutes → press Timer OFF to confirm.
Due to thermal expansion and contraction, the heater may produce noise when turning on or off. This is a normal phenomenon and does not affect performance or safety.