Product Gallery
This appliance is not intended for use by persons (including children) with reduced physical sensory or mental capabilities, or lack of experience and knowledge, unless they have been given supervision or instruction. Children should be supervised to ensure they do not play with the appliance.
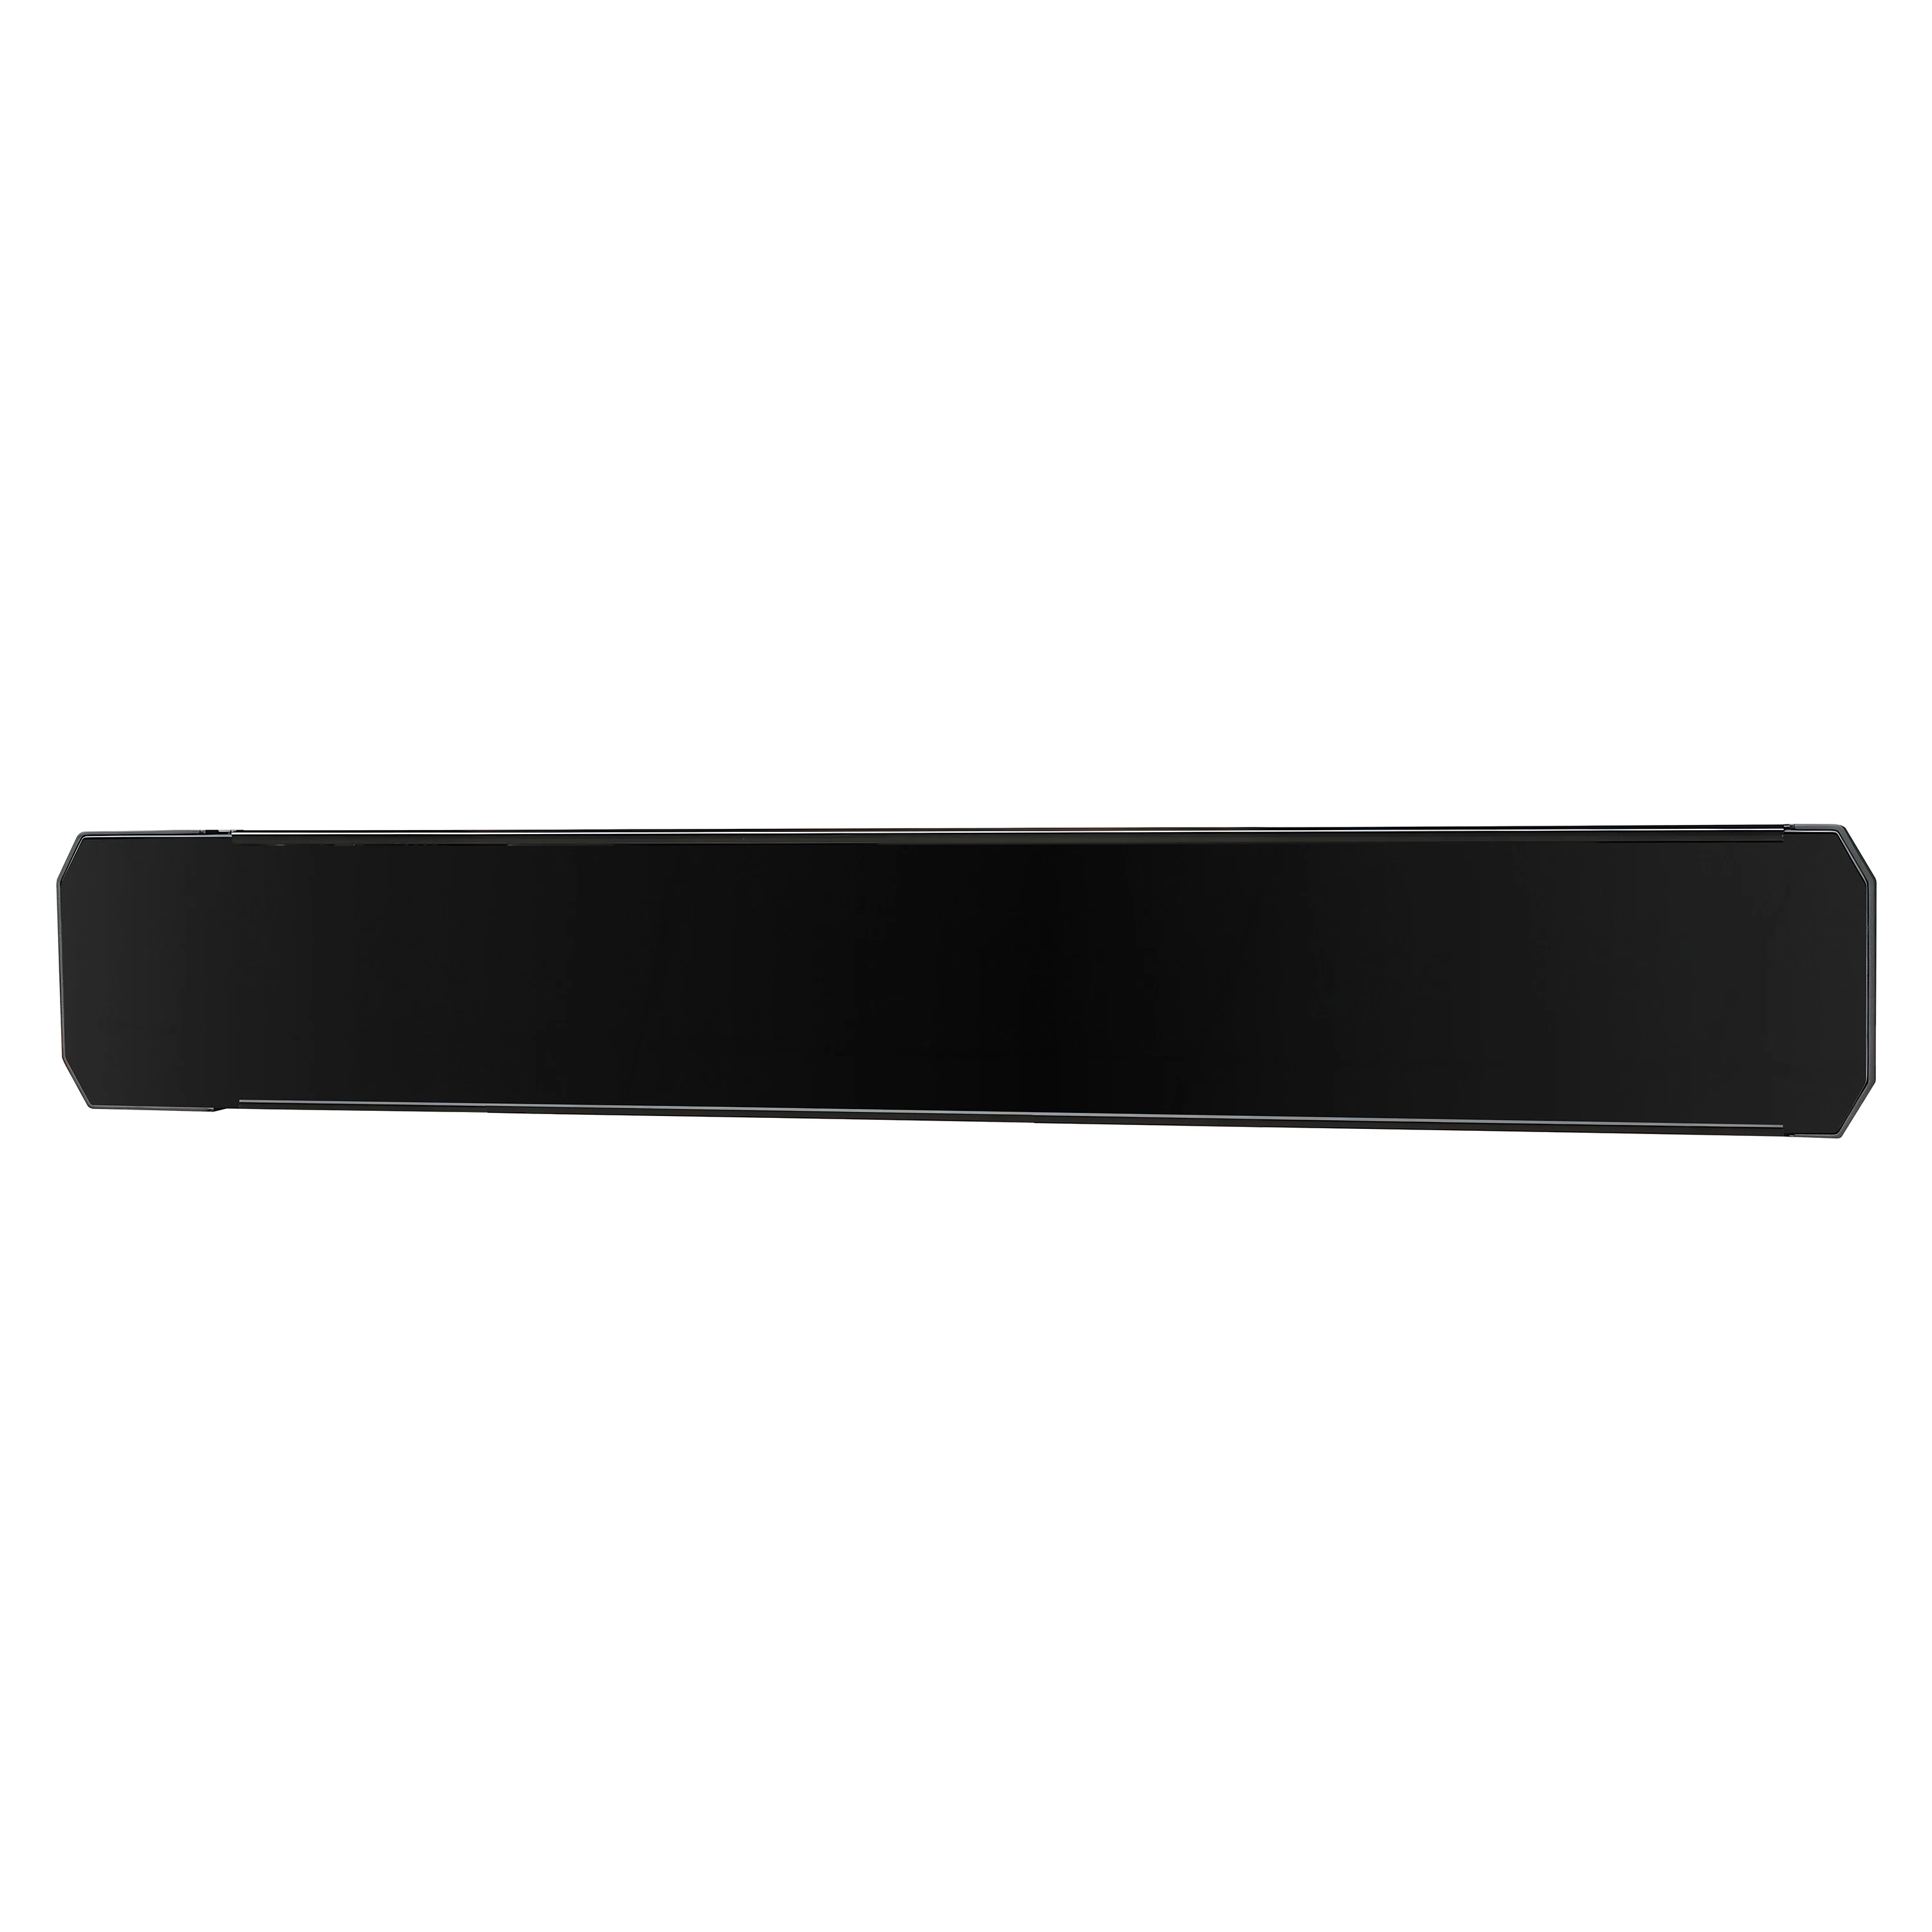
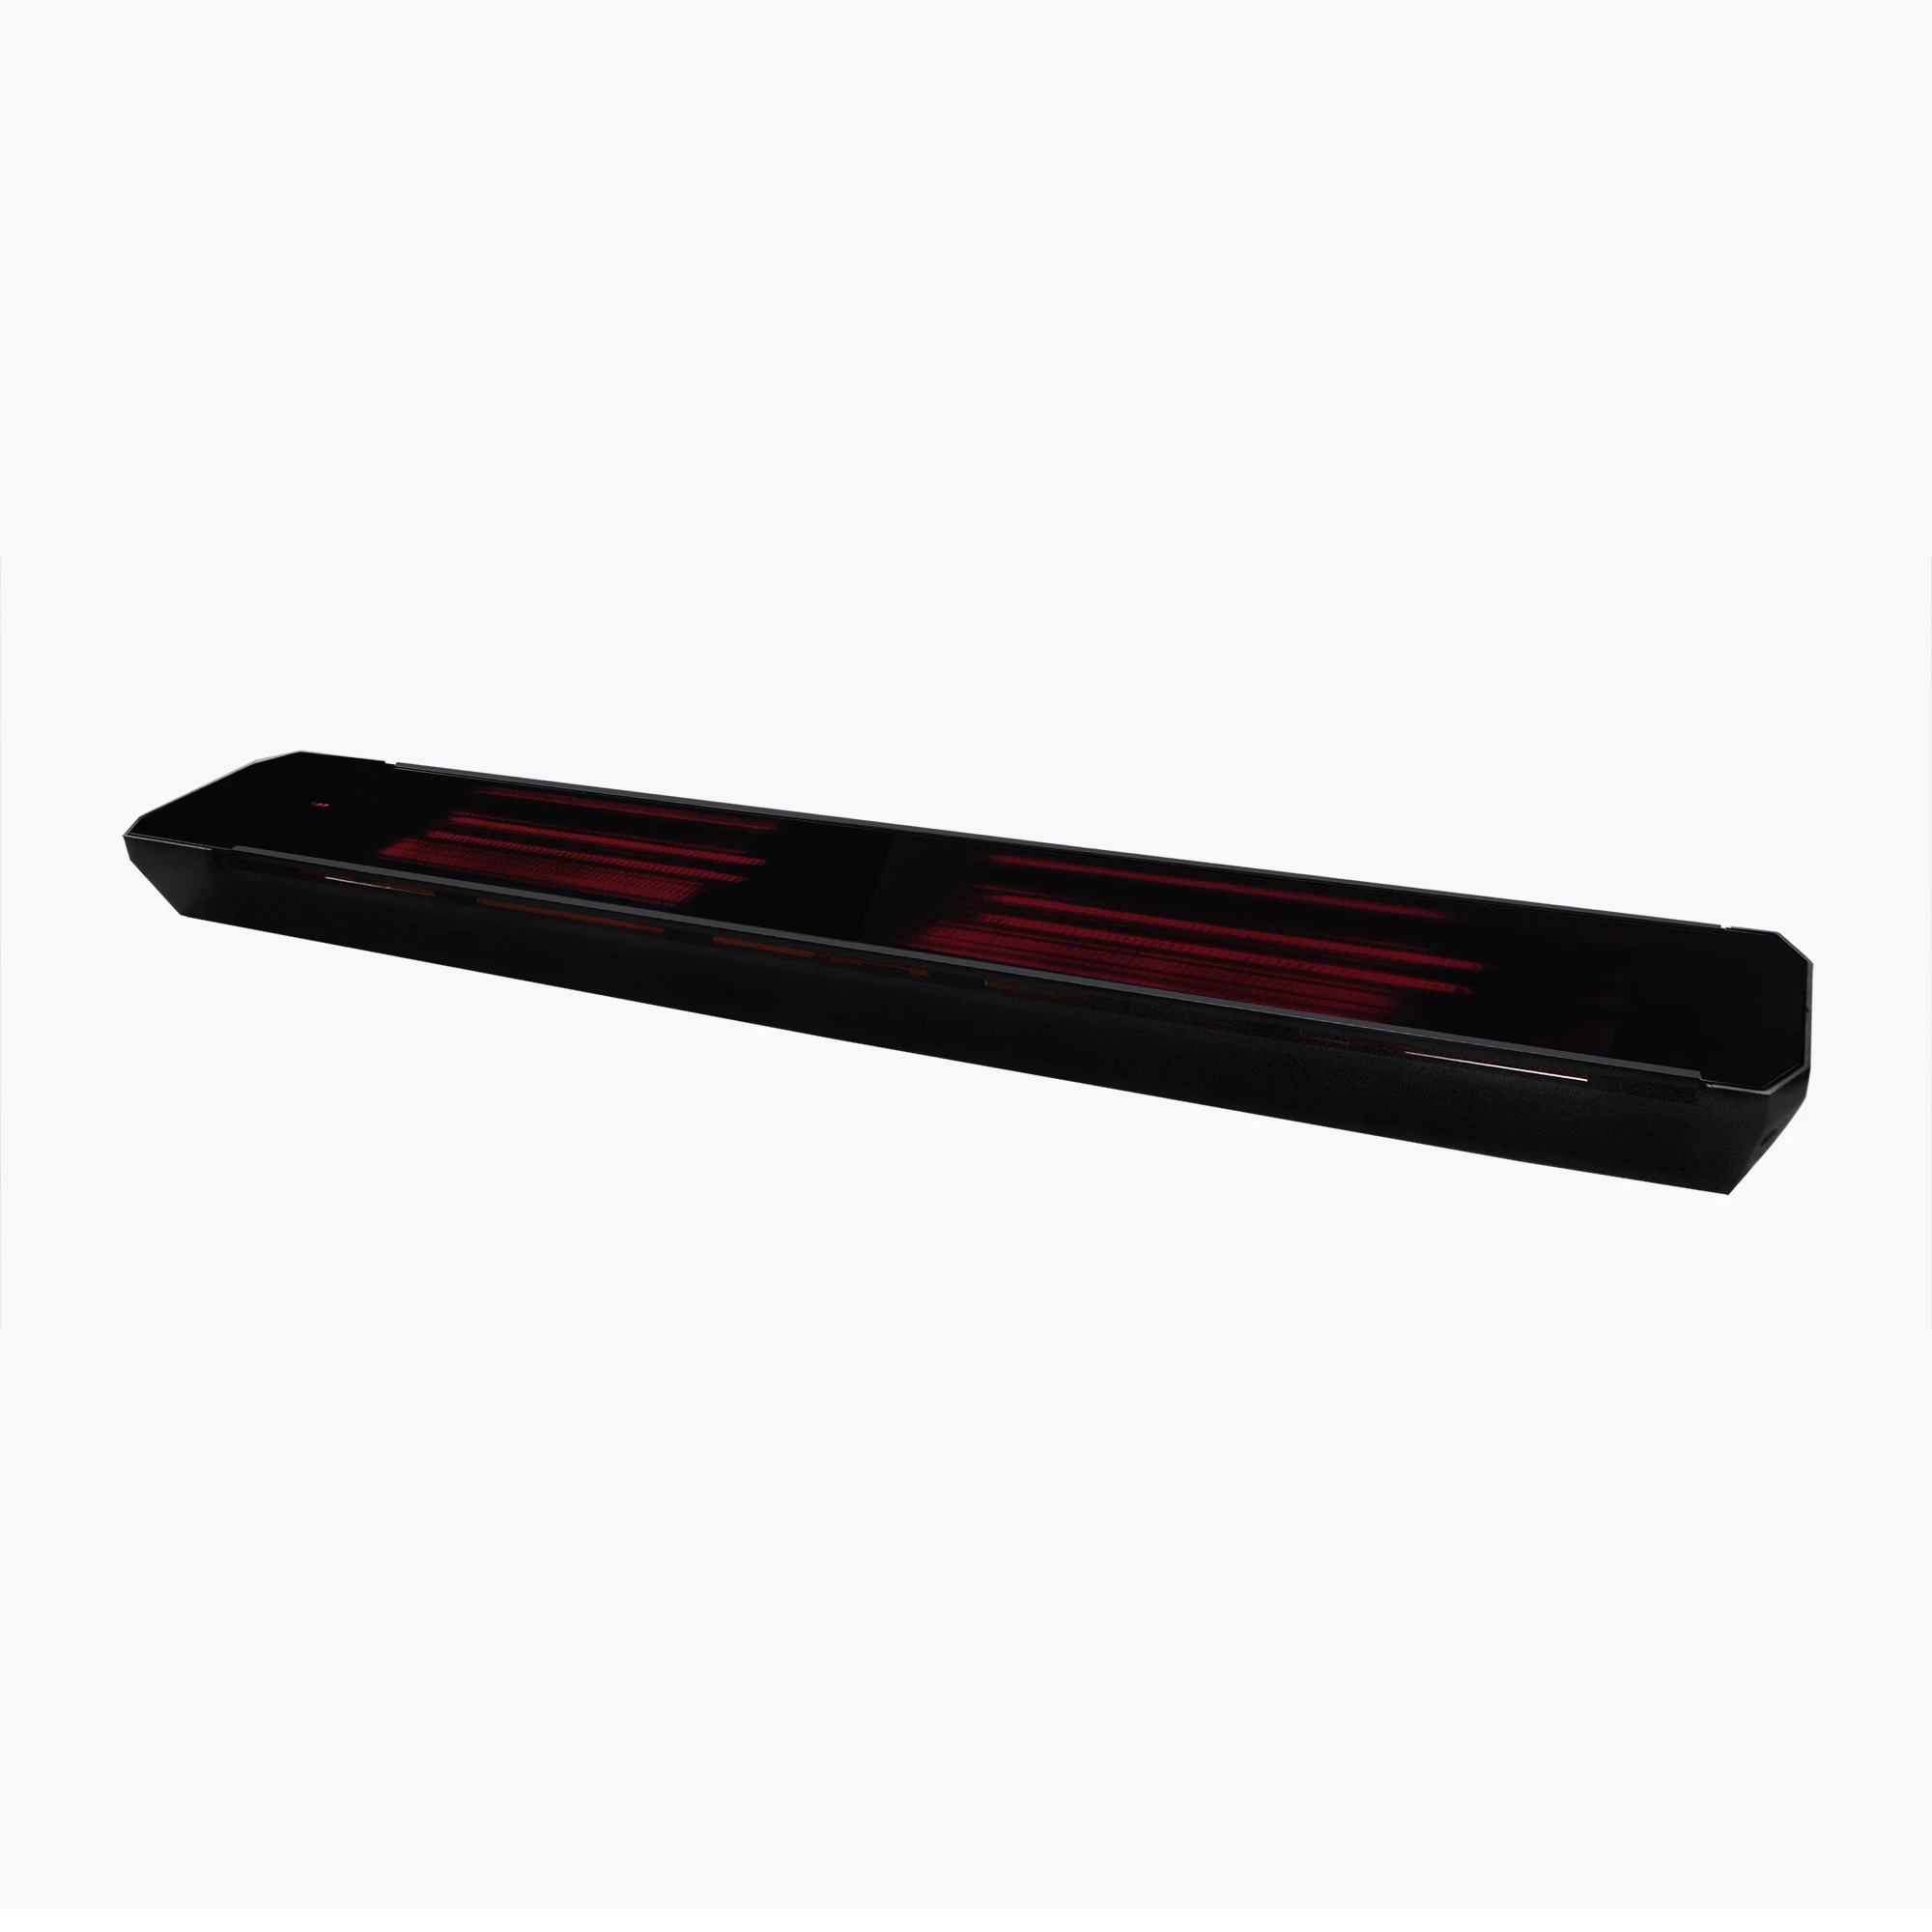
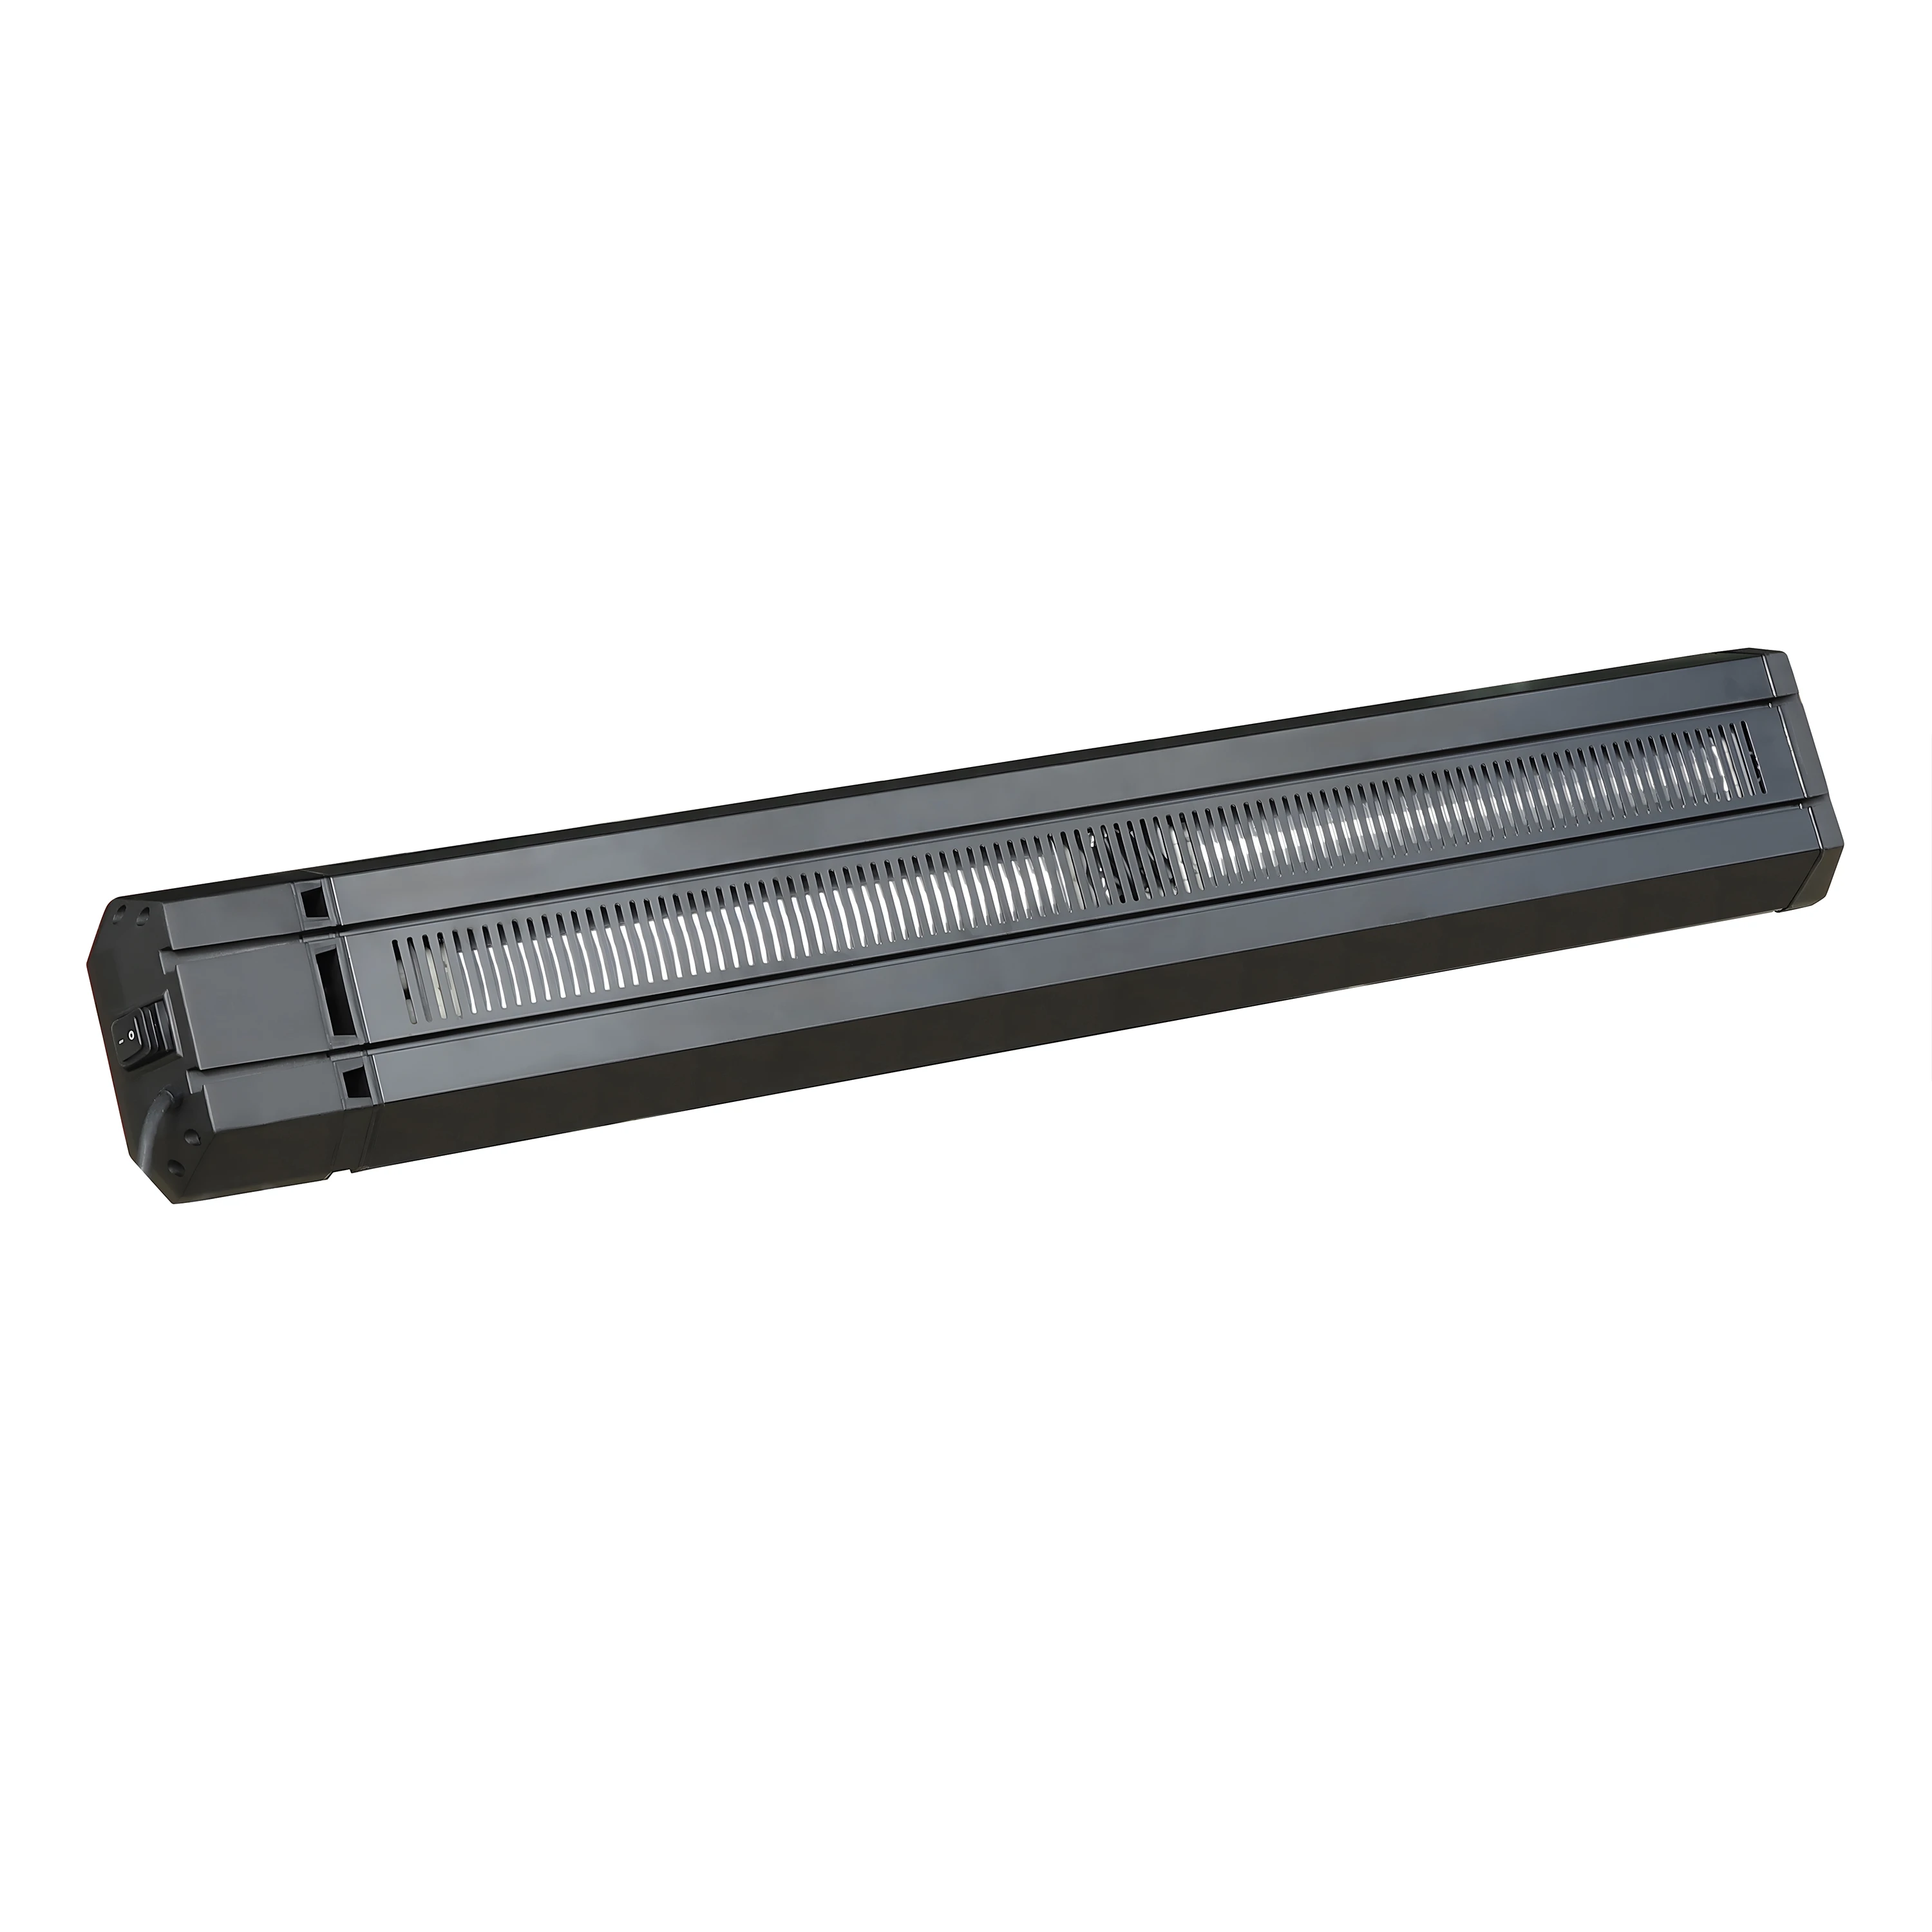
Thank you for choosing the JH 22B Series Carbon Fiber Infrared Heater. The far infrared radiant heater uses carbon fiber as the heating body, with a glass-ceramic panel. Its flat panel design uses radiant heat transfer, with rapid temperature rise — instant heating, soft light with no eye injury. When in use, the electric heating element directly transfers heat to people and objects by radiation, like sunlight.
With this radiant heating, the air does not produce convection, so the air stays fresh and clean. Indoor relative humidity can be maintained, and heat distribution is even, making people feel natural, fresh, comfortable and warm — like bathing in the sun.
Low heat loss, instant heating, high electrothermal conversion efficiency. Instant use means more energy savings compared to traditional methods.
The heater is treated by a special process for good insulation, strong flame-retardant properties, and high safety standards.
Gentle warmth to the human body, no harm to environment. Clean and warm — no dust, no dryness, no noise. A new heating experience.
Releases far-infrared waves at 6–15 microns, the most beneficial wavelength for the human body, known as "the light of life". Activates cells and promotes metabolism.
| Model No. | Power (W) | Rated Current (A) | Voltage (V) | Cable Length (m) |
|---|---|---|---|---|
| JH-NR16-22B | 1600 | 7.0 | 220–240 | 1.1 |
| JH-NR22-22B | 2200 | 9.6 | 220–240 | 1.1 |
| JH-NR32-22B | 3200 | 13.9 | 220–240 | 1.1 |
| Model No. | Dimension A (mm) | Dimension B (mm) |
|---|---|---|
| JH-NR16-22B | 810 | 400 |
| JH-NR22-22B | 1160 | 600 |
| JH-NR32-22B | 1660 | 1050 |
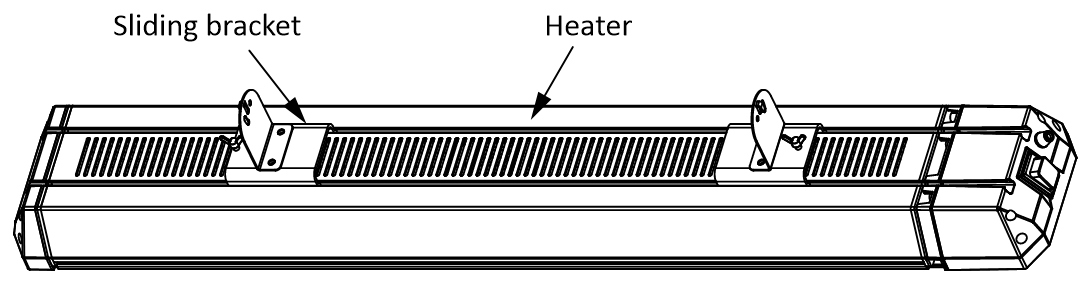
Connect adjusting bracket to sliding bracket.
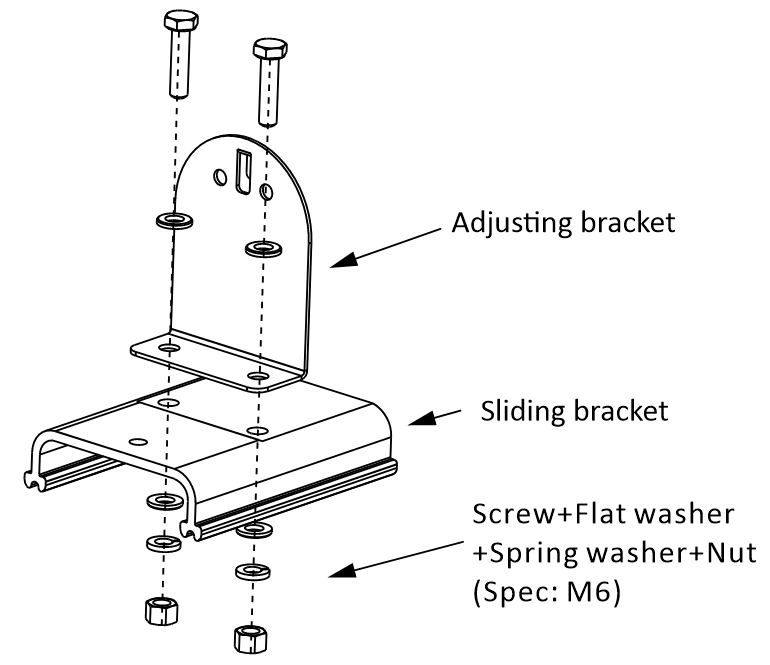
Install the sliding bracket and heater as indicated by the arrows.
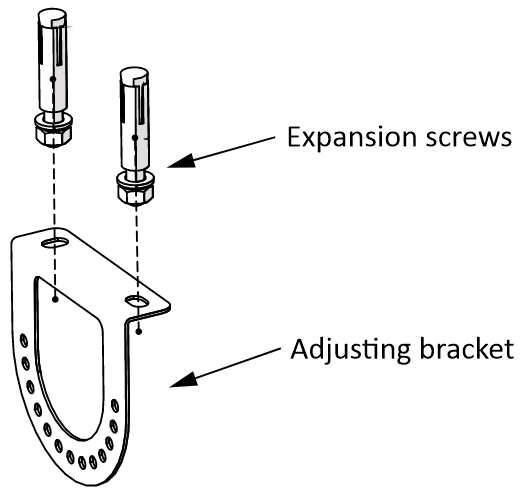
Fix the adjusting bracket to the wall using expansion screws.
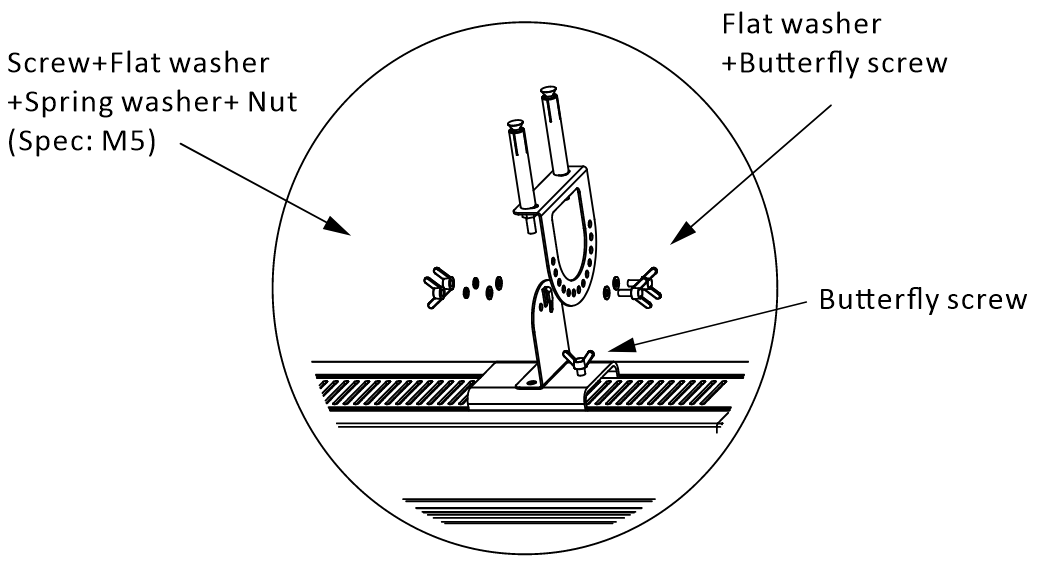
Install both adjusting brackets and tighten the butterfly hand screws firmly.
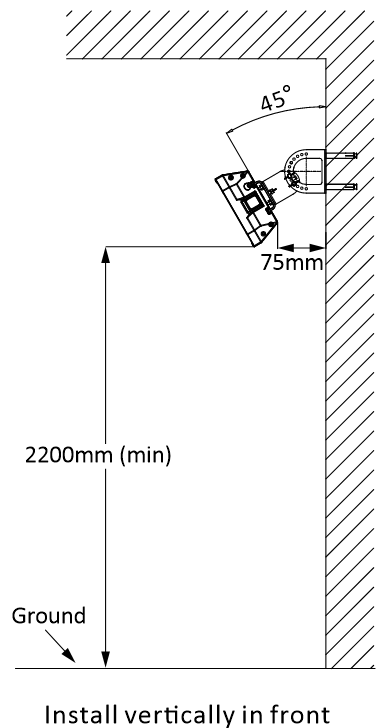
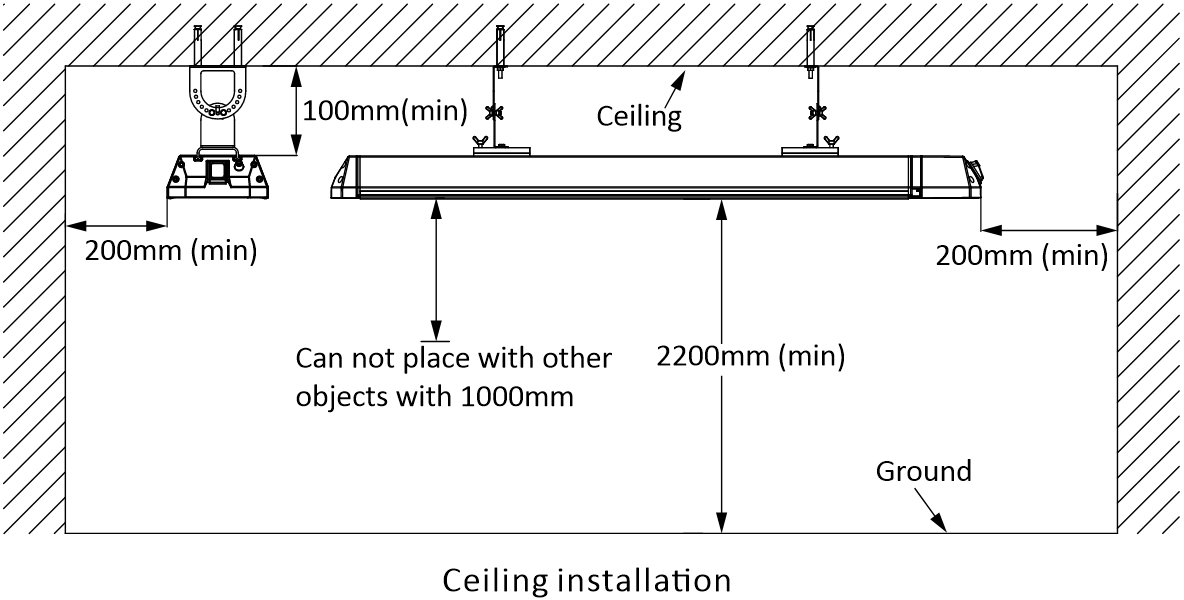
The heater can be installed on the wall or ceiling. Ensure the installation angle is adjusted correctly for optimal heating coverage.
The heater is equipped with a digital display panel showing the current operating status, power level, and timer settings.
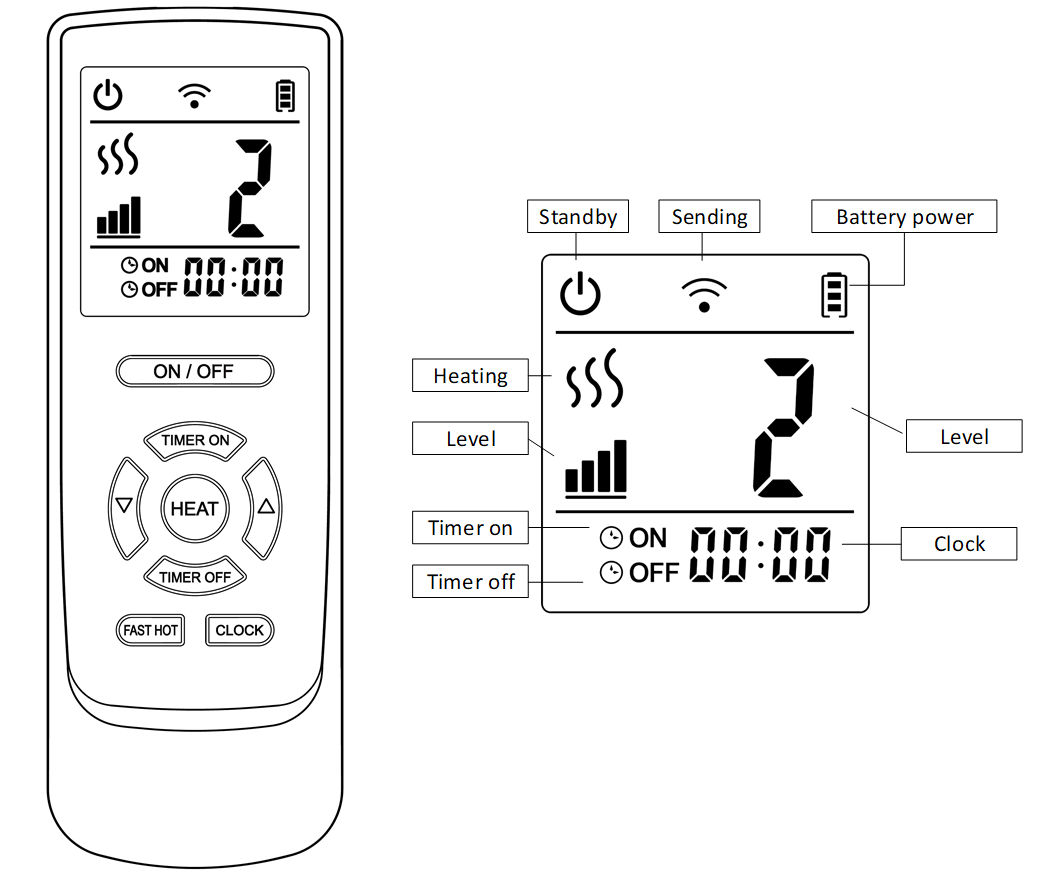
Press ON/OFF button to turn the heater on or off. The display shows OFF-state and ON-state with power level indicator.
Press Clock → adjust hours with ▲/▼ → press Clock → adjust minutes → press Clock → adjust seconds → press Clock to confirm.
Press the Heat button while the heater is on to adjust the power level between Low (Level 1) and High (Level 2).
Reserved button, currently unused.
Press Timer ON → set hours with ▲/▼ → press Timer ON → set minutes → press Timer ON to confirm. The display shows the present time and ON indicator.
Press Timer OFF → set hours with ▲/▼ → press Timer OFF → set minutes → press Timer OFF to confirm. The display shows the present time and OFF indicator.
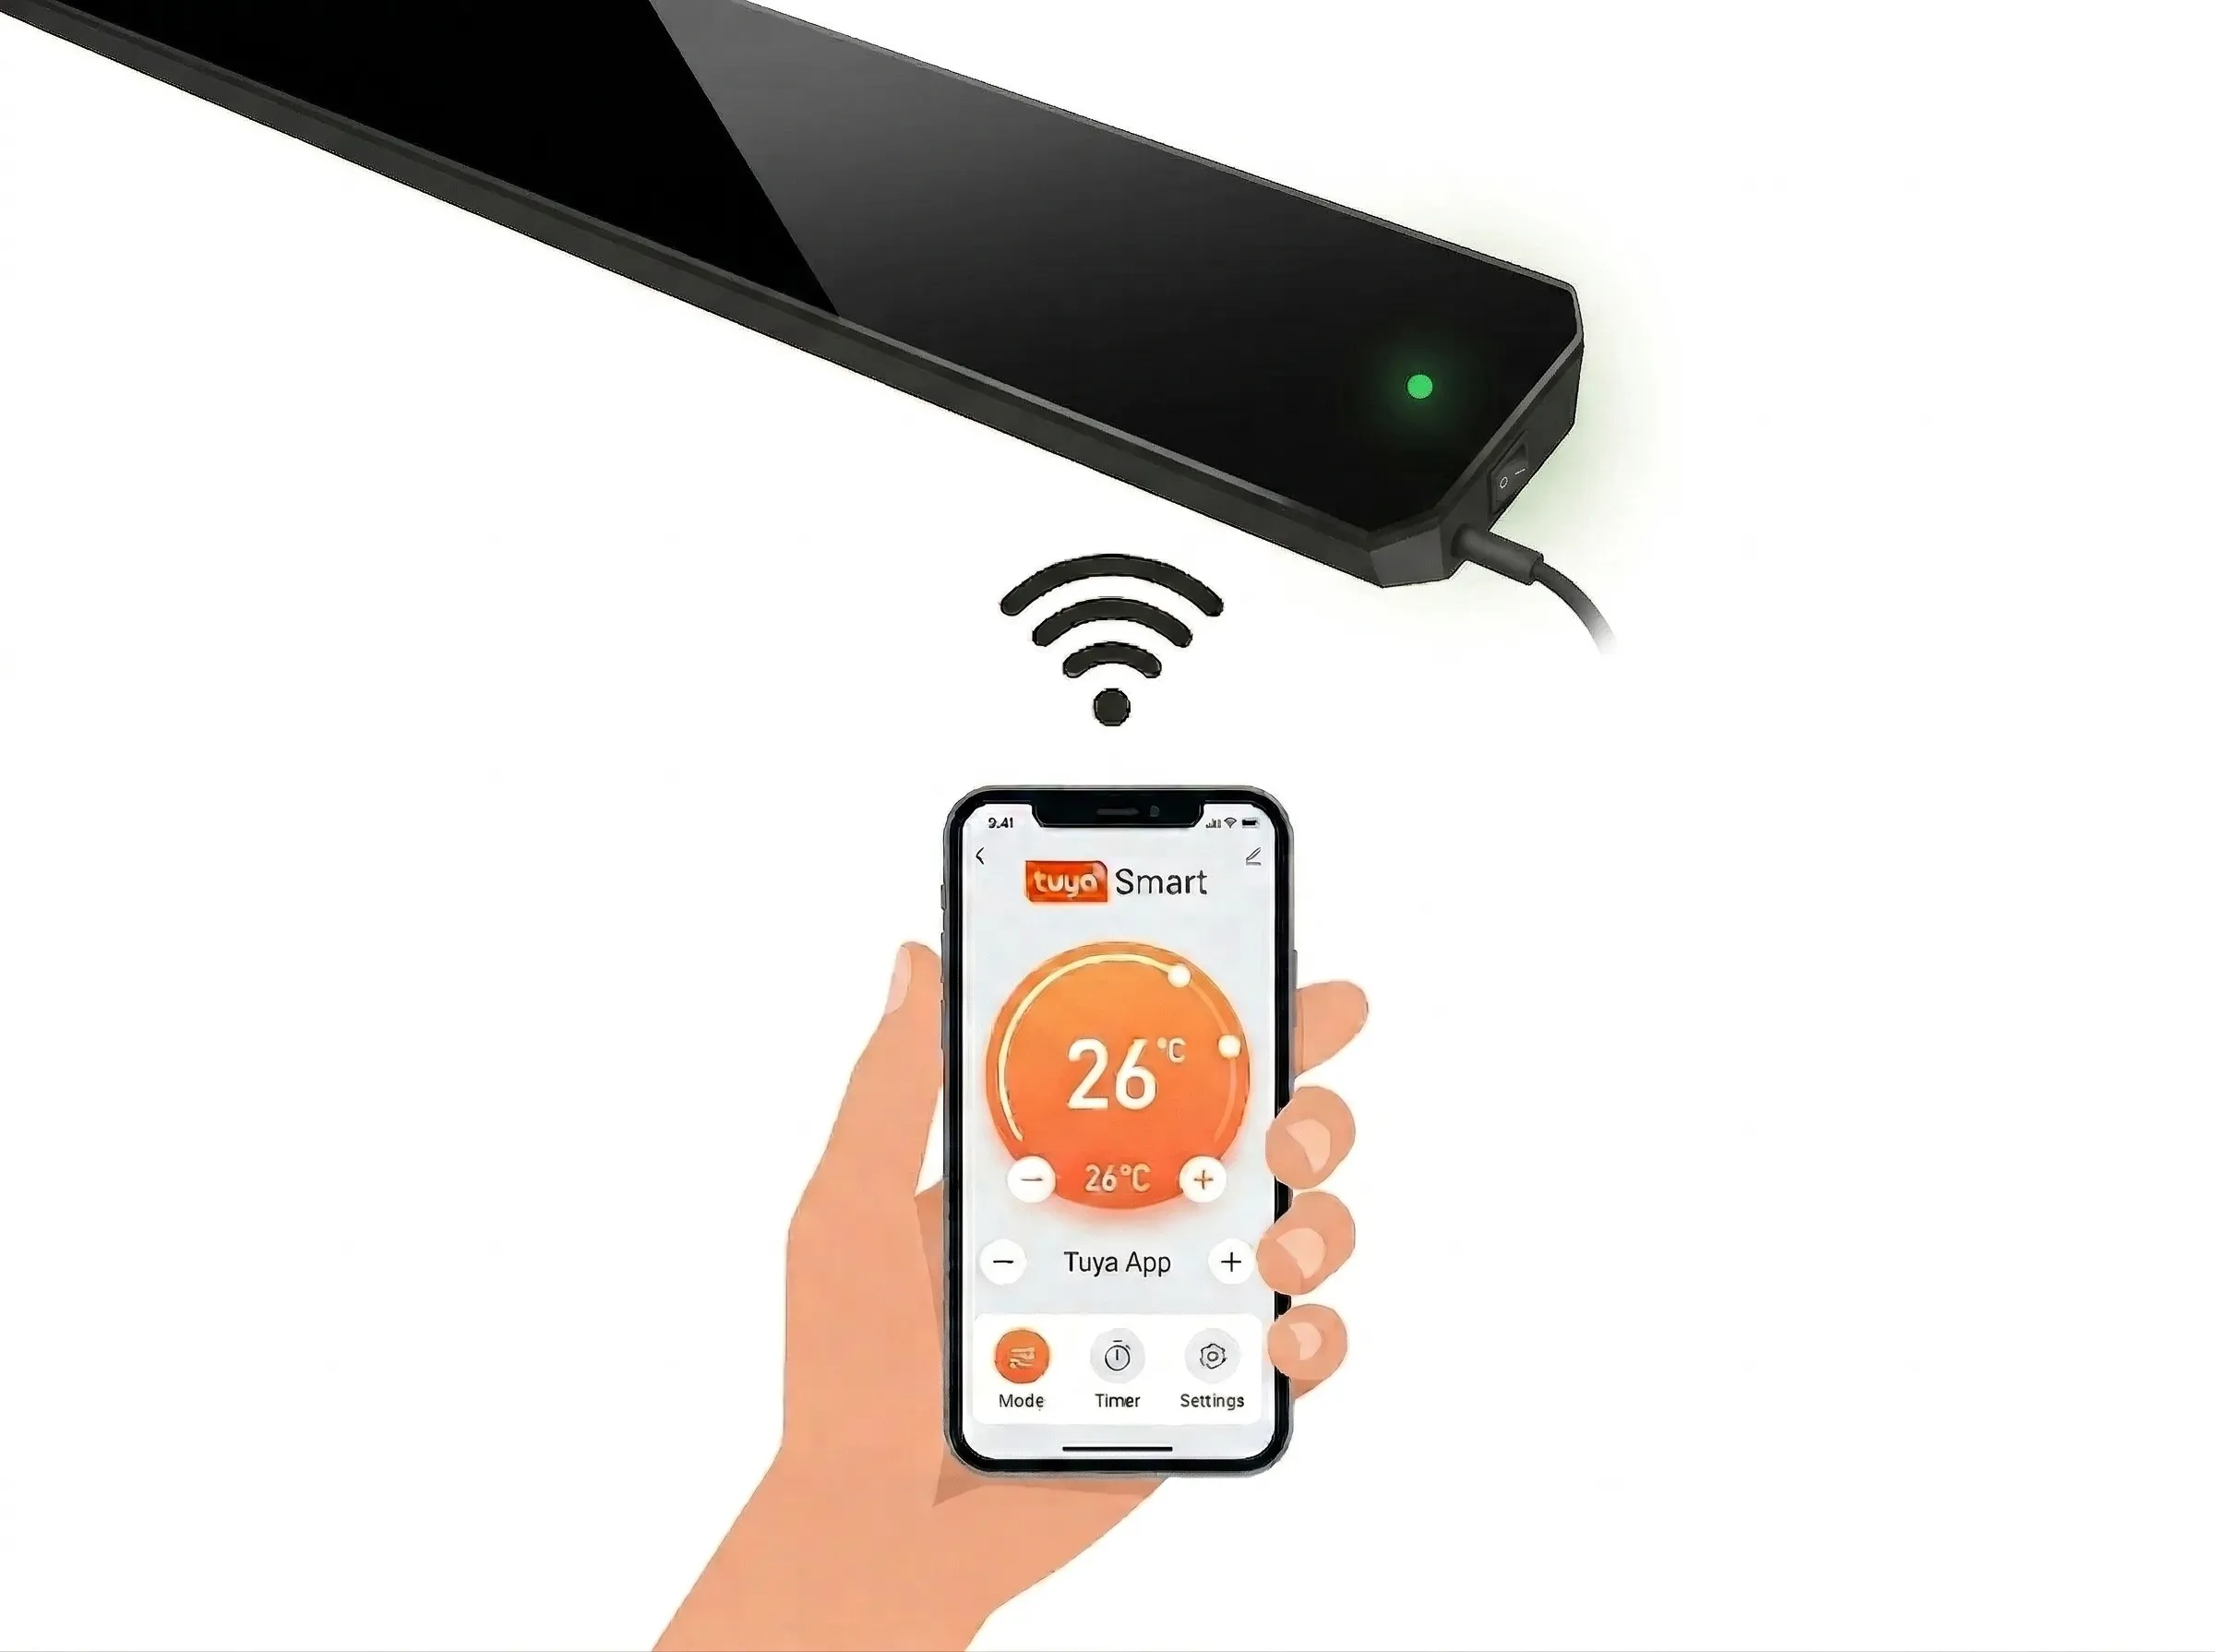
Download Tuya Smart App from your smartphone (Google Play Store / App Store / AppGallery, etc.) or from https://smartapp.tuya.com/tuyasmart.
Register a new account or log in with your existing account.
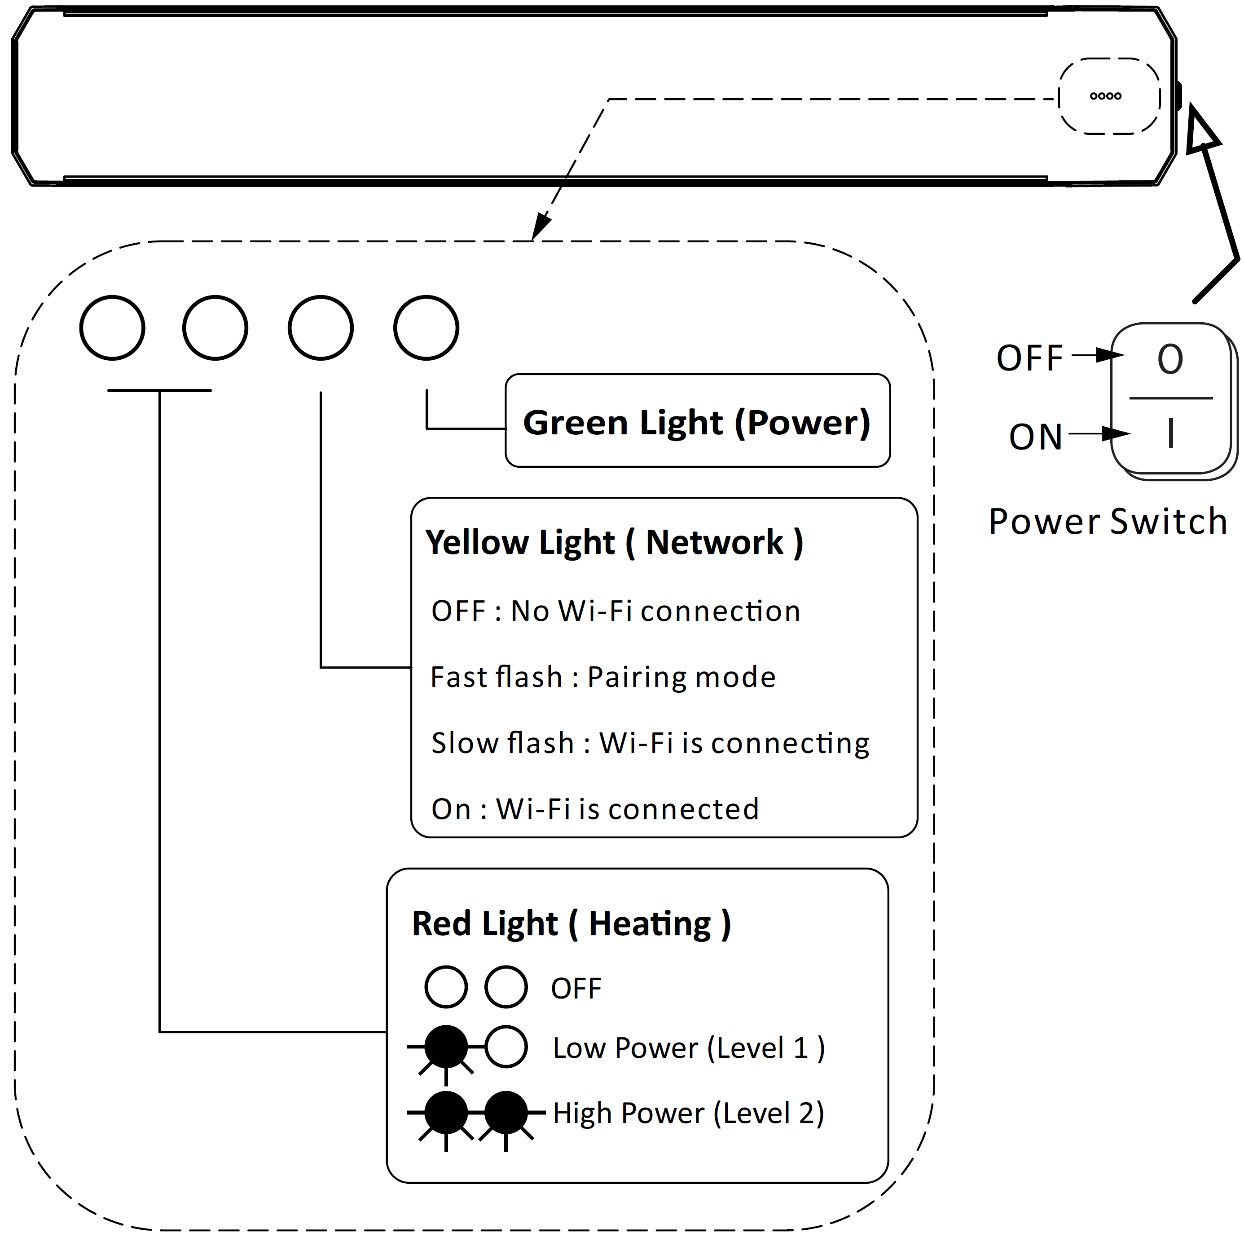
Enable Bluetooth on your mobile phone. Ensure Wi-Fi can connect to the Internet (the heater only supports 2.4G Wi-Fi). Turn off the heater power switch, wait 5 seconds, then turn on the switch. Set the remote control to OFF state, then press the remote buttons toward the heater in sequence: ▲ → ▼ → ▲ → ▼ → ▲ → ▼ → ▲ (the yellow light will flash rapidly, indicating the heater has entered pairing mode).
Open the Tuya Smart App, select Add Device. The heater in pairing mode will be discovered automatically. Click Add, select the Wi-Fi network, enter the password, and click Next. Wait for the connection and press DONE when successful.
Once connected, you can use the Tuya Smart App to control the heater remotely, adjust power levels, set timers, and monitor operating status.
| Items to be Checked | Consequence of Improper Installation |
|---|---|
| Is the installation stable? | The equipment may fall off or shake. |
| Is heat insulation adequate? | May damage objects close to the equipment. |
| Does power voltage match the product nameplate? | Equipment failure. |
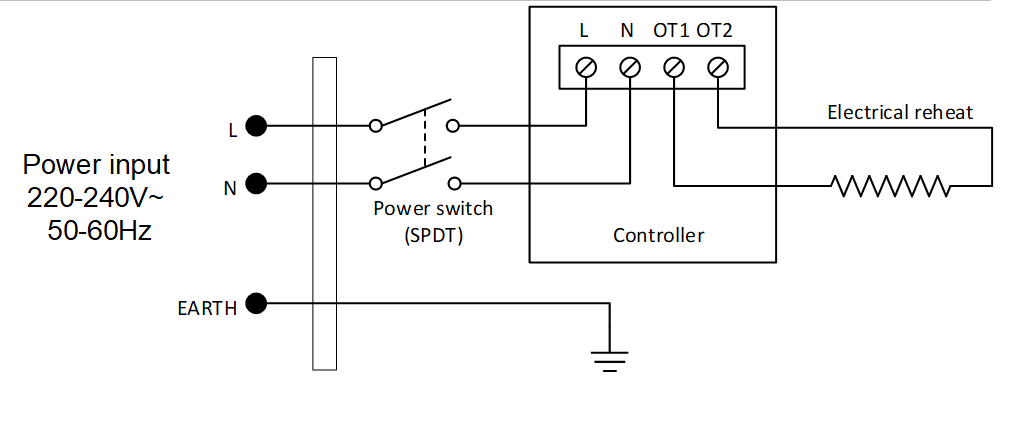
| Is the wire connection correct? | Equipment failure. |
| Is the earth ground connected safely? | There is electricity leakage risk. |
Due to thermal expansion and contraction, the heater may make a slight noise when turning on or off. This is a normal phenomenon and will not negatively affect operation or performance.
| Model No. | Dimension (mm) | Package Size (mm) | Net Weight (kg) | Gross Weight (kg) |
|---|---|---|---|---|
| JH-NR16-22B | 810 × 180 × 77 | 890 × 240 × 180 | 5 | 6.6 |
| JH-NR22-22B | 1160 × 180 × 77 | 1240 × 240 × 180 | 7 | 9 |
| JH-NR32-22B | 1660 × 180 × 77 | 1740 × 240 × 180 | 9.9 | 11.7 |